
Intro
Create professional address labels with Word template. Learn to design, print, and customize mailing labels using Microsoft Word, label templates, and mail merge features for efficient labeling and shipping solutions.
Creating address labels in Microsoft Word can be a straightforward process, especially when you need to print multiple labels at once. This can be useful for mailing purposes, whether personal or professional. Here's a step-by-step guide to creating word template address labels:
Address labels are essential for both personal and professional use, offering a convenient way to organize and send mail. Whether you're preparing for a wedding, a business conference, or simply need to update your mailing list, having a template can save you time and effort. In this article, we'll explore the importance of address labels, how to create them using Microsoft Word, and provide tips on customizing your templates for various purposes.
The ability to create address labels in Word is a valuable skill, as it allows users to efficiently manage their mailing needs. With a few simple steps, you can create professional-looking labels that are perfect for any occasion. The process involves selecting the right template, customizing the layout, and printing your labels. Before we dive into the step-by-step guide, let's consider the benefits of using address labels and how they can streamline your mailing process.
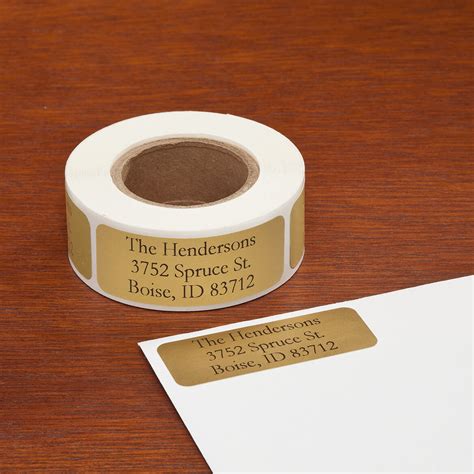
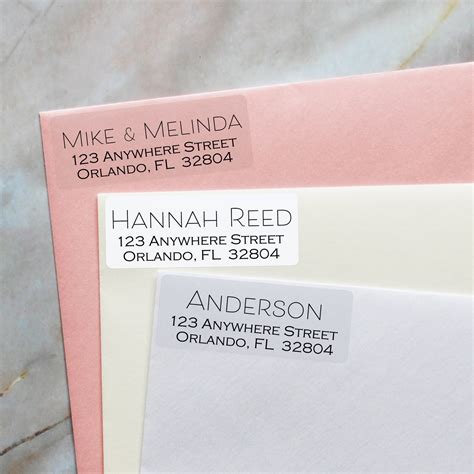
Using address labels can significantly reduce the time spent on preparing mail. Instead of handwriting each address, you can print out labels in bulk, making the process faster and less prone to errors. Additionally, address labels can add a professional touch to your mail, making them ideal for business use. With the right template, you can customize the design and layout to fit your brand's identity, creating a cohesive and polished look.
Getting Started with Microsoft Word
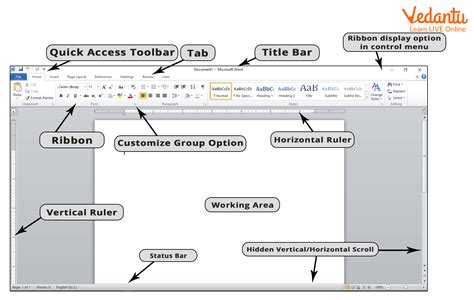
To begin creating your address labels, open Microsoft Word. If you're using an older version of Word, the steps might slightly differ, but the general process remains the same. Ensure you have your list of addresses ready, as this will make the process more efficient.
Step 1: Select the Mailings Tab
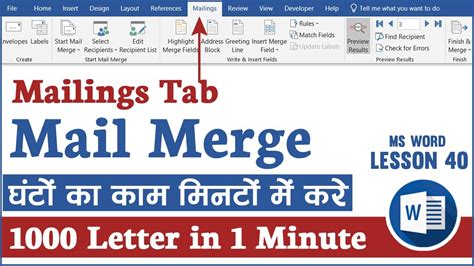
Once Word is open, navigate to the "Mailings" tab. This tab is specifically designed for tasks like creating labels, envelopes, and mail merges. Clicking on this tab will reveal a variety of tools and options tailored for mailing purposes.
Step 2: Choose the Label Options
Within the "Mailings" tab, find and click on the "Labels" button. This will open a dialog box where you can select the type of label you want to create. Here, you can choose from a variety of label sizes and manufacturers. Select the one that matches your label sheets.
Step 3: Select the Label Type
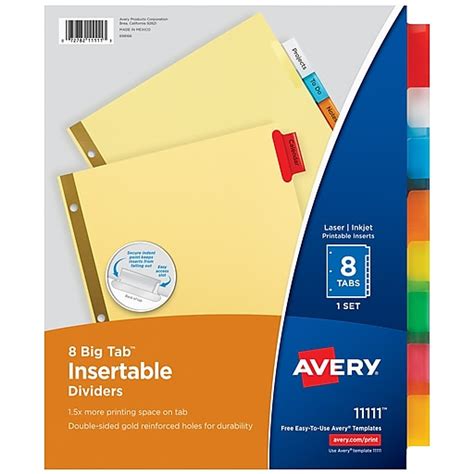
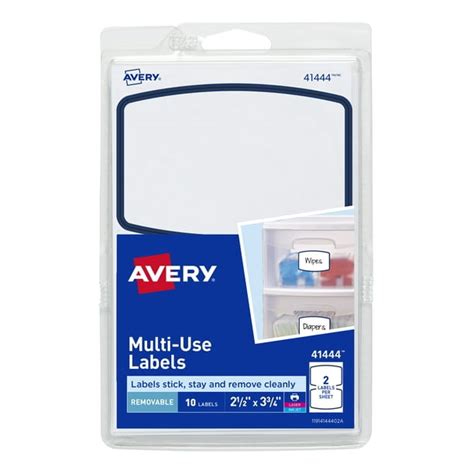
In the "Label Options" dialog box, you'll need to specify the label type. Word offers a range of predefined label sizes from popular manufacturers like Avery. If your specific label isn't listed, you can select a similar size or choose to create a custom label size.
Step 4: Create a New Document
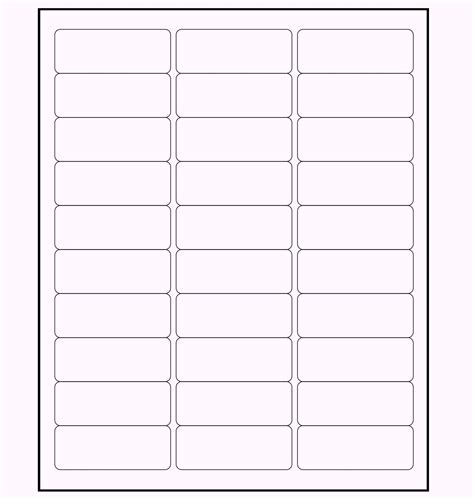
After selecting your label options, Word will create a new document with a table formatted to match your chosen label size. Each cell in the table represents a label on your sheet.
Step 5: Enter Your Addresses
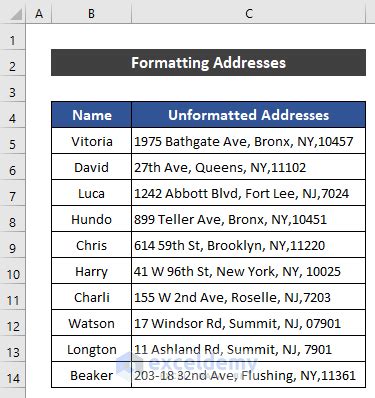
Now, it's time to fill in your addresses. You can type each address manually into the respective cells, or if you have your addresses in a database or spreadsheet, you can use Word's mail merge feature to automatically populate the labels.
Step 6: Print Your Labels
Once all your addresses are entered, you're ready to print. Make sure you have your label sheets in the printer and select the appropriate print settings. It's a good idea to print a test page first to ensure everything aligns correctly with your labels.
Customizing Your Labels
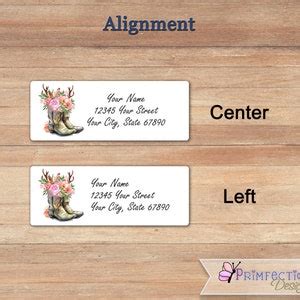
You can further customize your labels by adding your company logo, changing the font, or adjusting the layout. Word offers a range of tools and features that allow you to personalize your labels to fit your needs.Advanced Customization

For more advanced customization, you can use Word's built-in design tools. This includes adding images, shapes, and text effects to make your labels more visually appealing.
Gallery of Address Label Templates
Address Label Templates


Frequently Asked Questions
How do I choose the right label size in Word?
+To choose the right label size, go to the "Mailings" tab, click on "Labels," and then select "Options." Here, you can choose from a list of predefined label sizes or enter a custom size.
Can I use my own images on address labels?
+Yes, you can use your own images on address labels. Simply insert the image into the label cell, and adjust the size as needed to fit within the label boundaries.
How do I print address labels without cutting them off?
+To avoid cutting off your labels, ensure that your printer is set to the correct label size and that the labels are aligned properly in the printer tray. You may also need to adjust the margins in your Word document.
Can I create address labels from an Excel spreadsheet?
+Yes, you can create address labels from an Excel spreadsheet using Word's mail merge feature. First, prepare your data in Excel, then open Word, and use the "Mailings" tab to start the mail merge process.
How do I save my address label template for future use?
+To save your address label template, go to "File" > "Save As," and choose a location to save your template. You can also save it as a Word template (.dotx) for easy access in the future.
In conclusion, creating word template address labels is a simple and efficient way to manage your mailing needs. By following the steps outlined in this article, you can create professional-looking labels that are perfect for any occasion. Whether you're preparing for a special event or simply need to update your mailing list, having a template can save you time and effort. We encourage you to experiment with different designs and layouts to find the one that works best for you. Share your experiences with creating address labels in the comments below, and don't hesitate to reach out if you have any further questions or need additional guidance.