
Intro
Create custom binder spines with a 1 Inch Binder Spine Template in Google Docs, featuring printable spine labels, binder organization, and document editing for a professional look.
The world of organization and productivity is vast and fascinating, with numerous tools and templates designed to help individuals and businesses stay on top of their tasks and projects. Among these, the humble binder spine template is a crucial element, often overlooked but incredibly useful for keeping documents in order. For those utilizing Google Docs, finding the right template can be a game-changer. This article delves into the realm of 1-inch binder spine templates in Google Docs, exploring their importance, how to create and use them, and the benefits they bring to organizational systems.
In today's digital age, physical documentation still holds a significant place in many industries and personal projects. The ability to organize and easily identify documents is key to efficiency and productivity. A 1-inch binder spine template, designed for use with Google Docs, offers a straightforward solution for labeling and organizing binders. These templates are especially useful for professionals, students, and anyone managing multiple projects or categories of documents.
The importance of a well-organized system cannot be overstated. It saves time, reduces stress, and improves the accessibility of information. For individuals and teams working on complex projects, a clear and consistent labeling system is essential for quick reference and collaboration. A 1-inch binder spine template in Google Docs provides a customizable and easily printable solution, allowing users to create professional-looking labels that match their specific needs.
Introduction to Google Docs
Google Docs is a free web-based word processing application offered by Google. It allows users to create and edit documents online while collaborating with others in real-time. The platform is renowned for its simplicity, accessibility, and the wide range of templates it offers, including those for binder spine labels. Google Docs templates can be easily customized, shared, and printed, making them an ideal choice for personal and professional use.
Benefits of Using a 1-Inch Binder Spine Template
The benefits of incorporating a 1-inch binder spine template into your organizational system are multifaceted. Firstly, it enhances visibility and accessibility, allowing individuals to quickly identify the contents of a binder. This is particularly useful in environments where time is of the essence, such as in offices, classrooms, or during project meetings. Secondly, these templates promote consistency, which is crucial for maintaining a professional appearance and facilitating collaboration among team members.Moreover, using a 1-inch binder spine template in Google Docs encourages digital organization. By creating digital versions of binder labels, users can easily replicate, modify, and share them across different projects and teams. This digital approach also helps in reducing physical storage needs and minimizes the environmental impact of printing unnecessary copies.
Creating a 1-Inch Binder Spine Template in Google Docs

Creating a 1-inch binder spine template in Google Docs is a straightforward process. Users can start by selecting a template from Google Docs' gallery or by creating one from scratch. For a basic template, follow these steps:
- Open Google Docs: Navigate to the Google Docs website and sign in with your Google account.
- Select a Template or Blank Document: Choose a template that closely matches your needs or start with a blank document.
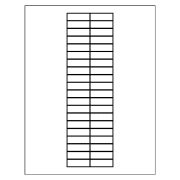
- Set Up Your Page: Adjust the page settings to match the dimensions of a standard binder spine label. Typically, this will be 1 inch in height, but the width can vary based on the binder size.
- Add Text and Formatting: Insert the necessary text, usually the title of the binder's contents, and adjust the font size and style as needed. Ensure the text is centered and clear.
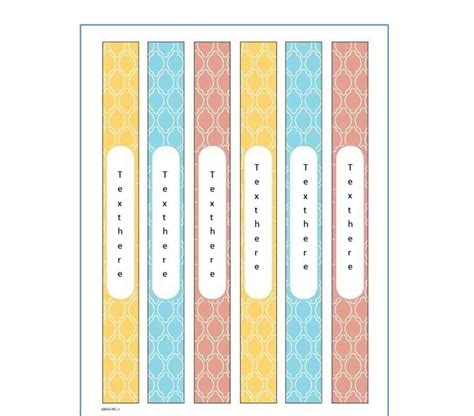
- Customize and Refine: Add any additional details such as logos, colors, or icons to personalize the template. Use the tools in Google Docs to refine the layout and ensure it prints clearly on your labels.
- Save and Print: Save your template and print it on label paper or cardstock. Cut the labels to size and apply them to your binders.
Customizing Your Template
Customization is a key feature of Google Docs templates. Users can modify virtually every aspect of the template, from the background color to the font style, to match their specific needs or brand identity. This level of customization ensures that the binder spine labels not only serve their functional purpose but also contribute to a cohesive and professional appearance.For businesses, customization can include adding the company logo, using specific brand colors, or incorporating particular fonts. This consistency across all organizational materials helps in reinforcing the brand's identity and can contribute to a more professional image.
Using Your 1-Inch Binder Spine Template
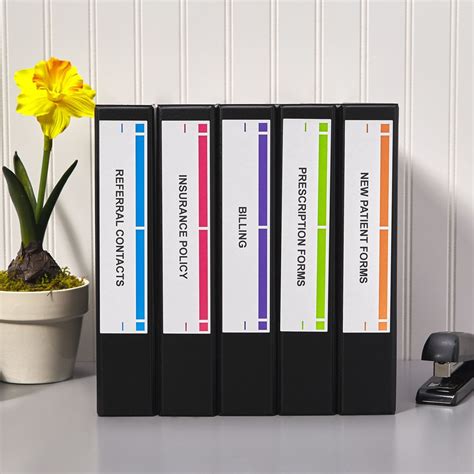
Once you have created and printed your 1-inch binder spine template, using it is straightforward. Simply apply the labels to the spines of your binders, ensuring they are centered and securely attached. For long-term durability, consider laminating the labels or using a clear tape to protect them from wear and tear.
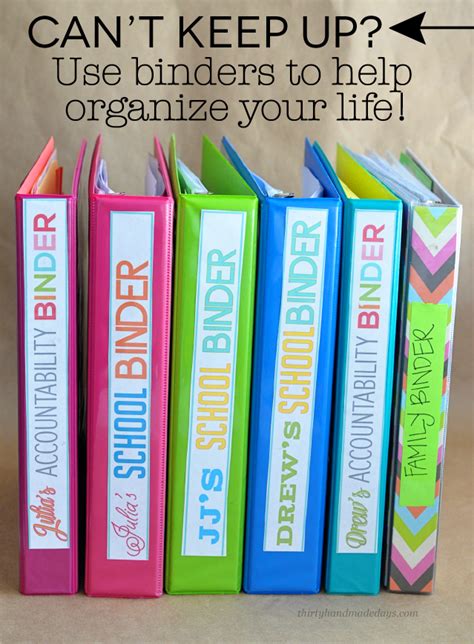
The practical applications of these templates are vast. They can be used in office settings to organize client files, project documents, or meeting notes. In educational environments, they help students and teachers keep track of assignments, notes, and study materials. For personal projects, they can be used to organize recipes, DIY instructions, or family documents.
Best Practices for Organization
When implementing a 1-inch binder spine template as part of your organizational system, consider the following best practices:- Consistency is Key: Use the same template and formatting across all your binders to create a cohesive system.
- Clear Labeling: Ensure the text on your labels is clear, concise, and easy to read.
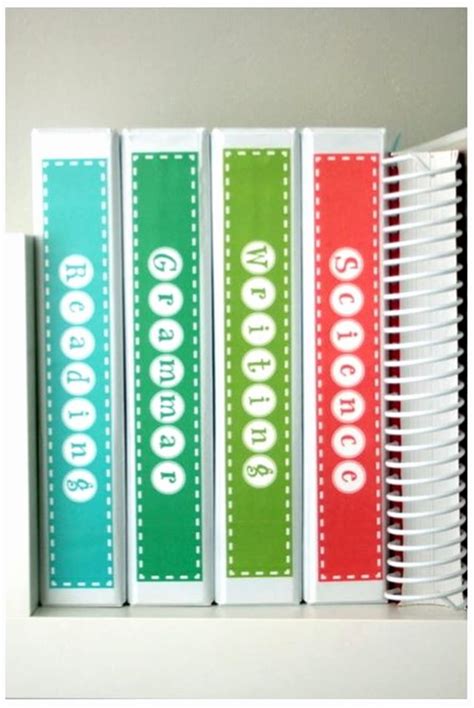
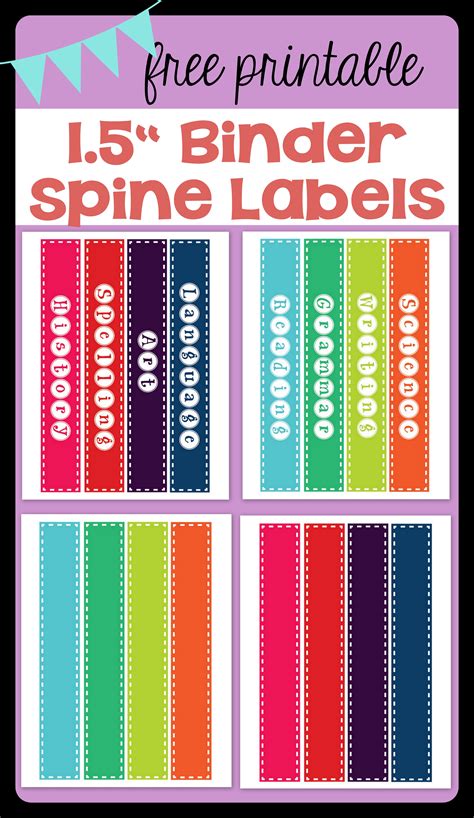
- Color Coding: Consider using different colors for different categories of documents to enhance visibility and accessibility.
- Regular Maintenance: Periodically review and update your labels as the contents of your binders change.
Gallery of Binder Spine Templates
Binder Spine Templates Gallery

Frequently Asked Questions
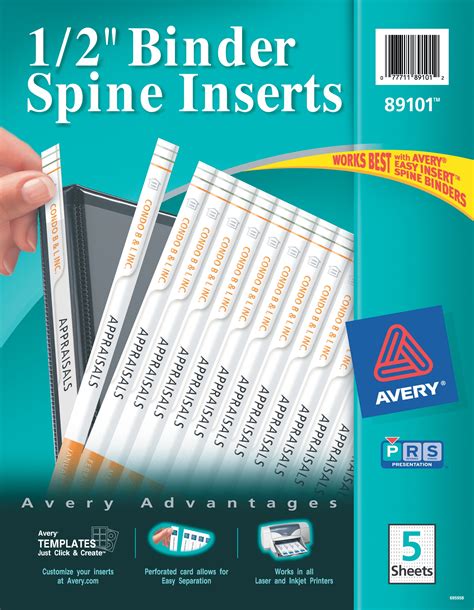
What is the standard size for a binder spine label?
+The standard size can vary, but a common size is 1 inch in height. The width depends on the binder size.
How do I print a 1-inch binder spine template from Google Docs?
+Adjust your page settings in Google Docs to match the label size, then print on label paper or cardstock.
Can I customize the 1-inch binder spine template in Google Docs?
+Yes, Google Docs allows you to customize virtually every aspect of the template, including text, colors, and images.
In conclusion, a 1-inch binder spine template in Google Docs is a versatile and indispensable tool for anyone seeking to enhance their organizational systems. Whether for personal, educational, or professional use, these templates offer a simple yet effective way to keep documents in order. By understanding the importance of clear labeling, customizing templates to suit specific needs, and implementing best practices for organization, individuals can significantly improve their productivity and efficiency. As the world continues to evolve digitally, the humble binder spine label remains a testament to the power of physical organization, bridging the gap between digital tools and tangible documents. We invite you to share your experiences with binder spine templates, ask questions, or explore more about how Google Docs can help streamline your organizational efforts.