
Intro
Install a wooden mail post with ease using our comprehensive guide, covering materials, tools, and steps for secure mailbox installation, including post setting and mounting techniques.
The installation of a wooden mail post is a fantastic way to add a touch of elegance and sophistication to your home's exterior. Not only does it provide a functional purpose, but it also serves as a beautiful decorative element that can enhance your home's curb appeal. In this article, we will delve into the world of wooden mail post installation, providing you with a comprehensive guide on how to choose, install, and maintain your new mail post.
When it comes to selecting the perfect wooden mail post, there are several factors to consider. The type of wood, the design, and the size are all crucial elements that can make or break the overall look and feel of your mail post. For instance, a wooden mail post made from cedar or pine can add a rustic touch to your home's exterior, while a post made from oak or maple can provide a more modern and sleek look. Additionally, the design of the post can range from simple and traditional to intricate and elaborate, allowing you to choose a style that complements your home's architecture.
As we explore the world of wooden mail post installation, it's essential to consider the benefits of having a well-designed and functional mail post. Not only does it provide a convenient and secure way to receive mail and packages, but it also adds a touch of personality and charm to your home's exterior. Whether you're looking to enhance your home's curb appeal, improve its functionality, or simply add a decorative element, a wooden mail post is an excellent choice.
Choosing the Right Wooden Mail Post

Types of Wooden Mail Posts
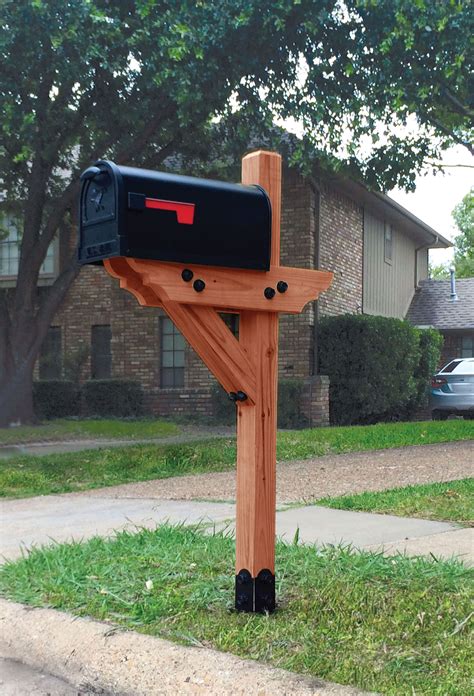
There are several types of wooden mail posts to choose from, each with its own unique characteristics and benefits. Some of the most popular types include: * Cedar mail posts: Cedar is a popular choice for mail posts due to its natural resistance to rot and insects. It also has a distinctive, attractive aroma. * Pine mail posts: Pine is another popular choice for mail posts. It is lightweight, easy to work with, and can be stained or painted to match your home's exterior. * Oak mail posts: Oak is a durable, long-lasting wood that can provide a classic, traditional look. It is also resistant to rot and insects. * Maple mail posts: Maple is a hardwood that is known for its light color and fine grain. It can provide a modern, sleek look and is resistant to scratches and stains.Installing Your Wooden Mail Post
Tips and Tricks for Installation
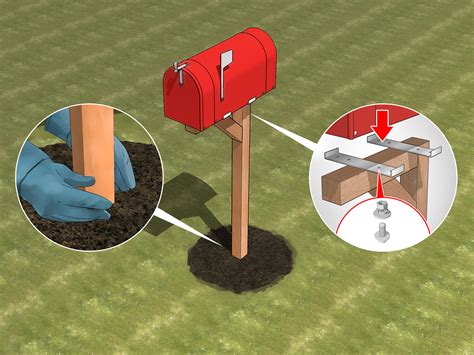
Here are a few tips and tricks to keep in mind when installing your wooden mail post: * Make sure the post is level: A level post is essential for ensuring that your mailbox is secure and functional. * Use concrete: Concrete provides a strong, durable base for your post, ensuring that it will withstand the elements and last for years to come. * Consider a decorative base: A decorative base can add a touch of elegance and sophistication to your mail post, making it a beautiful decorative element.Maintenance and Repair

Common Problems and Solutions
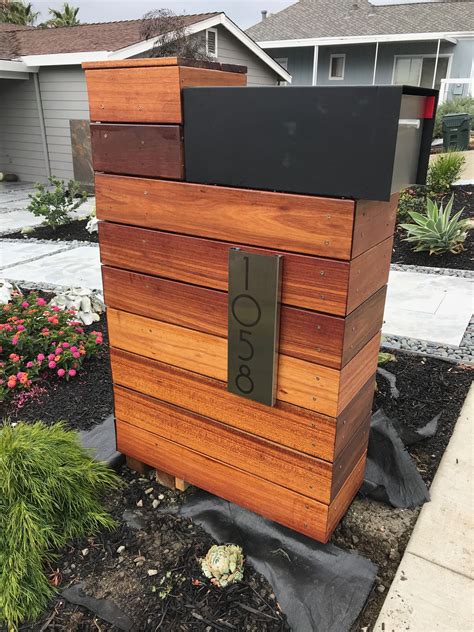
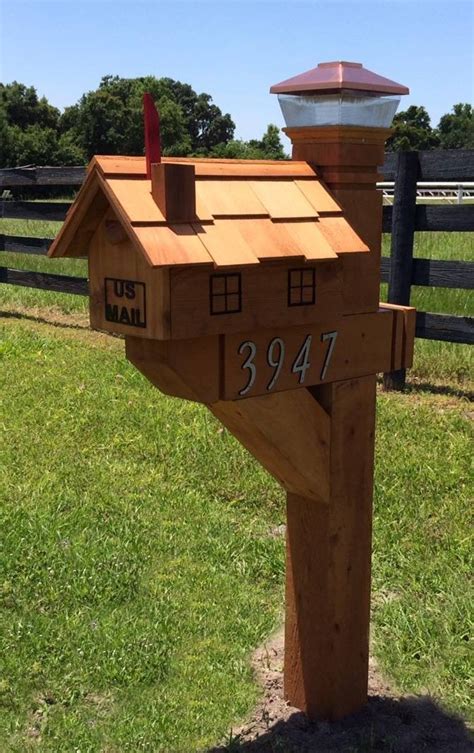
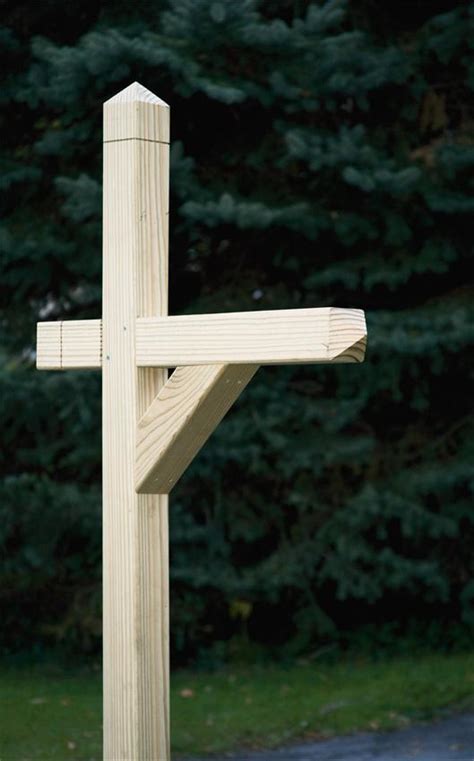
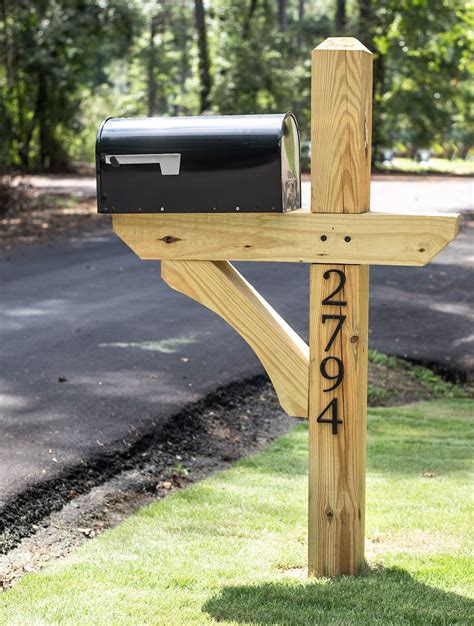
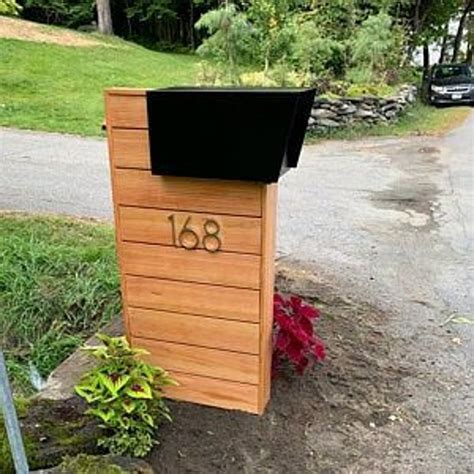
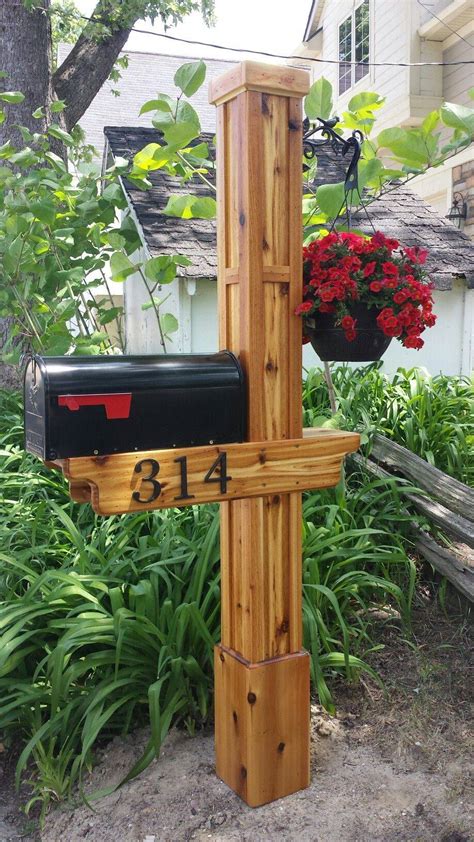
Here are a few common problems and solutions to keep in mind: * Rot: Rot can be caused by exposure to moisture and can be repaired by replacing the damaged wood. * Insects: Insects, such as termites and carpenter ants, can damage your mail post. Consider using insect-resistant wood or applying an insecticide. * Fading: Fading can be caused by exposure to sunlight and can be prevented by applying a finish or using a UV-resistant wood.Gallery of Wooden Mail Post Designs
Wooden Mail Post Image Gallery


Frequently Asked Questions
What type of wood is best for a wooden mail post?
+The best type of wood for a wooden mail post depends on your personal preference and the style you are going for. Cedar, pine, oak, and maple are all popular choices.
How do I install a wooden mail post?
+To install a wooden mail post, choose a location, prepare the site, dig a hole, set the post, fill the hole with concrete, and install the mailbox.
How do I maintain and repair my wooden mail post?
+To maintain and repair your wooden mail post, inspect it regularly, repair any damage, apply a finish, and consider replacing it if it is damaged beyond repair.
Can I use a wooden mail post with a solar mailbox?
+Yes, you can use a wooden mail post with a solar mailbox. Just make sure to choose a post that is compatible with your mailbox and follow the manufacturer's instructions for installation.
How long does a wooden mail post last?
+The lifespan of a wooden mail post depends on the type of wood, the quality of the post, and the maintenance and repair it receives. With proper care, a wooden mail post can last for many years.
In conclusion, installing a wooden mail post is a great way to add a touch of elegance and sophistication to your home's exterior. By choosing the right type of wood, designing a beautiful post, and installing it correctly, you can enjoy a functional and decorative mail post for years to come. Remember to maintain and repair your post regularly to ensure it lasts for a long time. If you have any questions or need further guidance, don't hesitate to ask. Share your thoughts and experiences with wooden mail posts in the comments below, and don't forget to share this article with your friends and family who may be interested in installing a wooden mail post.