
Intro
Learn 5 unique tie dye patterns, including ombre, shibori, and spiral techniques, to create vibrant, colorful designs with resist dyeing and folding methods.
The art of tie-dye has been a staple of fashion and creativity for centuries, with its unique, handmade patterns captivating the imagination of people around the world. From the intricate, swirling designs of traditional African and Asian textiles to the bold, vibrant colors of modern tie-dye, this timeless craft continues to inspire and delight. In this article, we will delve into the world of tie-dye, exploring five stunning patterns that showcase the beauty and versatility of this beloved art form.
Tie-dye is a labor-intensive process that requires patience, skill, and attention to detail. The technique involves folding, twisting, or pleating fabric to create resistance areas where the dye cannot penetrate, resulting in a wide range of unique, organic patterns. With the rise of social media and online tutorials, tie-dye has experienced a resurgence in popularity, with artists and crafters around the world sharing their own interpretations and innovations.
The beauty of tie-dye lies in its unpredictability, as the final result is often a surprise, even to the most experienced practitioners. This element of chance adds to the charm and character of tie-dye, making each piece a one-of-a-kind treasure. Whether you're a seasoned artist or a beginner looking to try your hand at this ancient craft, tie-dye offers a world of creative possibilities, limited only by your imagination and skill.
Introduction to Tie Dye Patterns
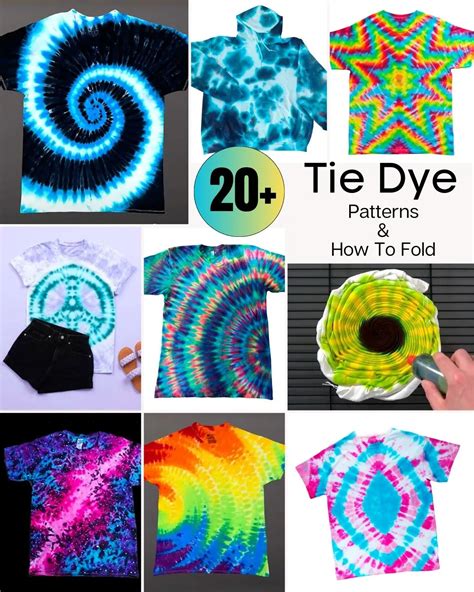
As we explore the world of tie-dye, it's essential to understand the basic principles and techniques involved in creating these stunning patterns. From the simple, yet elegant, bullseye pattern to the intricate, swirling designs of the spiral pattern, each technique requires a unique approach and set of skills. In this section, we will introduce five tie-dye patterns, highlighting their characteristics, challenges, and creative possibilities.
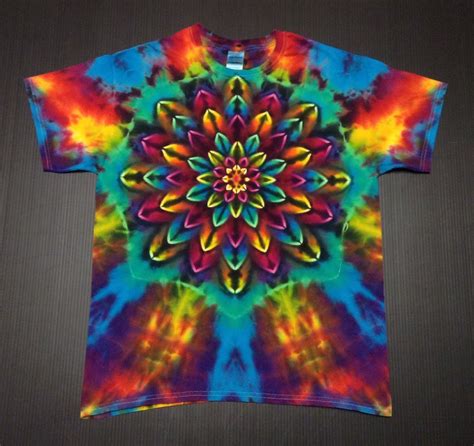
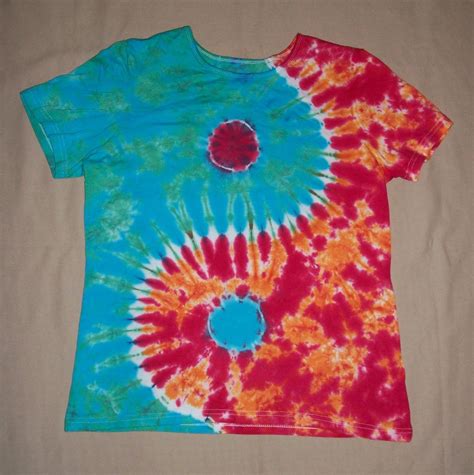
1. Bullseye Pattern
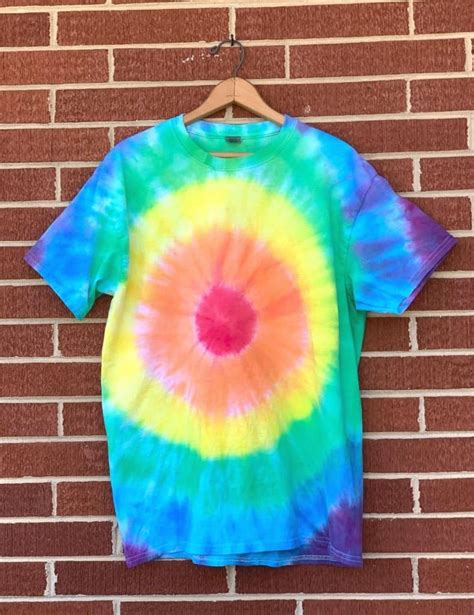
The bullseye pattern is a classic tie-dye design, characterized by a series of concentric circles, often in contrasting colors. This pattern is created by folding the fabric into a series of small, circular pleats, which are then bound with thread or rubber bands. The resulting design is a stunning, symmetrical pattern that resembles a bullseye, with each circle gradating into the next.
To create a bullseye pattern, you will need:
- A piece of white or light-colored fabric
- A set of rubber bands or thread
- A dye kit with multiple colors
- A bucket or container for soaking the fabric
Step-by-Step Guide to Creating a Bullseye Pattern
- Fold the fabric into a series of small, circular pleats, starting from the center of the fabric.
- Bind each pleat with a rubber band or thread, making sure to apply even pressure.
- Soak the fabric in a dye bath, allowing the colors to penetrate the fabric.
- Repeat the process with multiple colors, gradating each circle into the next.
- Remove the rubber bands or thread and rinse the fabric to reveal the bullseye pattern.
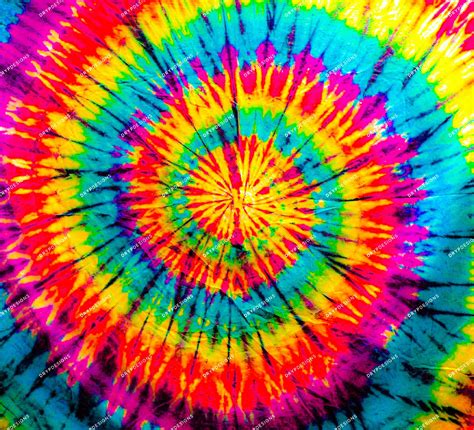
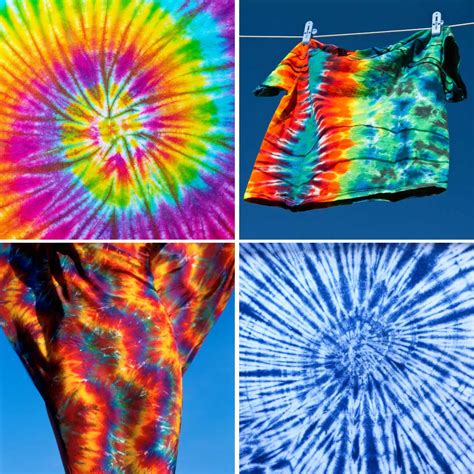
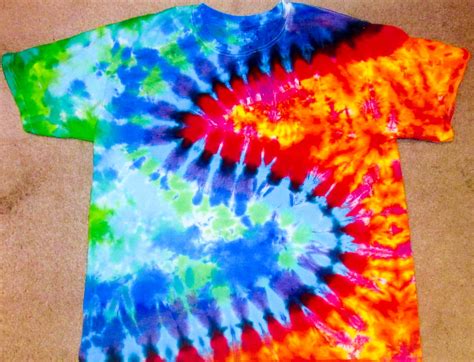
2. Spiral Pattern

The spiral pattern is a mesmerizing tie-dye design, characterized by a swirling, spiral shape that seems to shift and move as you gaze at it. This pattern is created by folding the fabric into a series of spiral pleats, which are then bound with thread or rubber bands. The resulting design is a stunning, dynamic pattern that seems to pulse with energy.
To create a spiral pattern, you will need:
- A piece of white or light-colored fabric
- A set of rubber bands or thread
- A dye kit with multiple colors
- A bucket or container for soaking the fabric
Step-by-Step Guide to Creating a Spiral Pattern
- Fold the fabric into a series of spiral pleats, starting from the center of the fabric.
- Bind each pleat with a rubber band or thread, making sure to apply even pressure.
- Soak the fabric in a dye bath, allowing the colors to penetrate the fabric.
- Repeat the process with multiple colors, gradating each spiral shape into the next.
- Remove the rubber bands or thread and rinse the fabric to reveal the spiral pattern.
3. Shibori Pattern
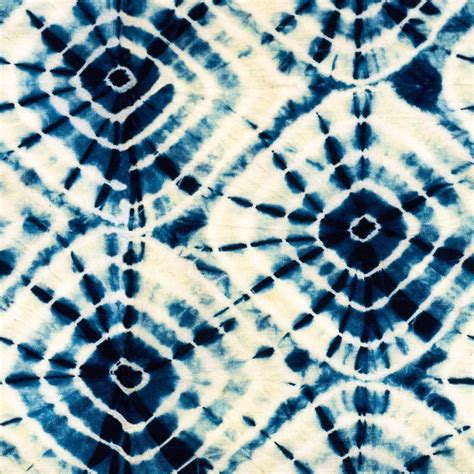
The shibori pattern is a traditional Japanese tie-dye design, characterized by a series of intricate, geometric shapes. This pattern is created by folding the fabric into a series of small, precise pleats, which are then bound with thread or rubber bands. The resulting design is a stunning, intricate pattern that resembles a work of art.
To create a shibori pattern, you will need:
- A piece of white or light-colored fabric
- A set of rubber bands or thread
- A dye kit with multiple colors
- A bucket or container for soaking the fabric
Step-by-Step Guide to Creating a Shibori Pattern
- Fold the fabric into a series of small, precise pleats, starting from the center of the fabric.
- Bind each pleat with a rubber band or thread, making sure to apply even pressure.
- Soak the fabric in a dye bath, allowing the colors to penetrate the fabric.
- Repeat the process with multiple colors, gradating each shape into the next.
- Remove the rubber bands or thread and rinse the fabric to reveal the shibori pattern.
4. Ombre Pattern
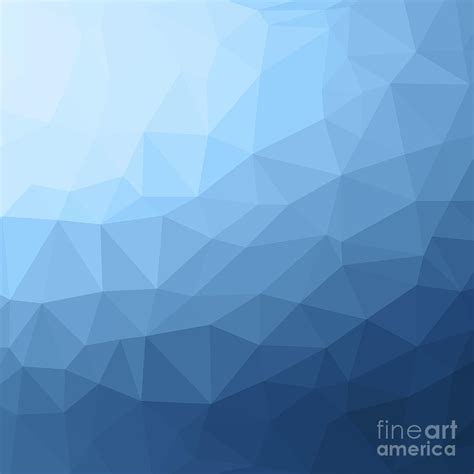
The ombre pattern is a modern tie-dye design, characterized by a gradual, ombre-like transition from one color to another. This pattern is created by folding the fabric into a series of small, horizontal pleats, which are then bound with thread or rubber bands. The resulting design is a stunning, gradient-like pattern that seems to shift and change as you gaze at it.
To create an ombre pattern, you will need:
- A piece of white or light-colored fabric
- A set of rubber bands or thread
- A dye kit with multiple colors
- A bucket or container for soaking the fabric
Step-by-Step Guide to Creating an Ombre Pattern
- Fold the fabric into a series of small, horizontal pleats, starting from the top of the fabric.
- Bind each pleat with a rubber band or thread, making sure to apply even pressure.
- Soak the fabric in a dye bath, allowing the colors to penetrate the fabric.
- Repeat the process with multiple colors, gradating each color into the next.
- Remove the rubber bands or thread and rinse the fabric to reveal the ombre pattern.
5. Marble Pattern
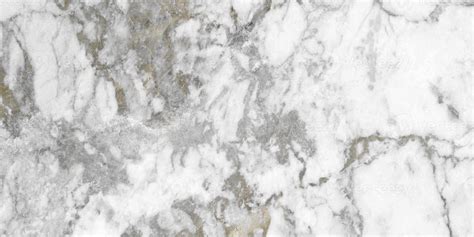
The marble pattern is a unique tie-dye design, characterized by a swirling, marbled effect that resembles the patterns found in marble stone. This pattern is created by folding the fabric into a series of small, random pleats, which are then bound with thread or rubber bands. The resulting design is a stunning, organic pattern that seems to shift and move as you gaze at it.
To create a marble pattern, you will need:
- A piece of white or light-colored fabric
- A set of rubber bands or thread
- A dye kit with multiple colors
- A bucket or container for soaking the fabric
Step-by-Step Guide to Creating a Marble Pattern
- Fold the fabric into a series of small, random pleats, starting from the center of the fabric.
- Bind each pleat with a rubber band or thread, making sure to apply even pressure.
- Soak the fabric in a dye bath, allowing the colors to penetrate the fabric.
- Repeat the process with multiple colors, gradating each color into the next.
- Remove the rubber bands or thread and rinse the fabric to reveal the marble pattern.
Tie Dye Pattern Image Gallery


What is tie-dye?
+Tie-dye is a resist dyeing technique that involves folding, twisting, or pleating fabric to create resistance areas where the dye cannot penetrate, resulting in unique, organic patterns.
What are the different types of tie-dye patterns?
+There are several types of tie-dye patterns, including bullseye, spiral, shibori, ombre, and marble. Each pattern requires a unique approach and set of skills.
How do I create a tie-dye pattern?
+To create a tie-dye pattern, you will need a piece of white or light-colored fabric, a set of rubber bands or thread, a dye kit with multiple colors, and a bucket or container for soaking the fabric. Follow the step-by-step guide for your chosen pattern to achieve the desired design.
What are the benefits of tie-dye?
+Tie-dye offers a range of benefits, including its unique, handmade designs, its ability to create one-of-a-kind pieces, and its potential for creative expression and self-expression.
Can I use tie-dye on any type of fabric?
+No, tie-dye is best suited for natural fibers such as cotton, linen, and silk. Synthetic fibers like polyester and nylon may not produce the desired results.
As we conclude our exploration of tie-dye patterns, we hope that you have been inspired by the beauty and creativity of this ancient craft. Whether you're a seasoned artist or a beginner looking to try your hand at tie-dye, we encourage you to experiment with different patterns, techniques, and colors to create your own unique designs. Share your experiences, ask questions, and showcase your creations in the comments below. Together, let's celebrate the art of tie-dye and the endless possibilities it offers for creative expression and self-expression.