
Intro
Create accurate cuts with a Table Saw Push Stick Template Guide, featuring woodworking tips, safety measures, and DIY project ideas for precise wood cutting and joinery techniques.
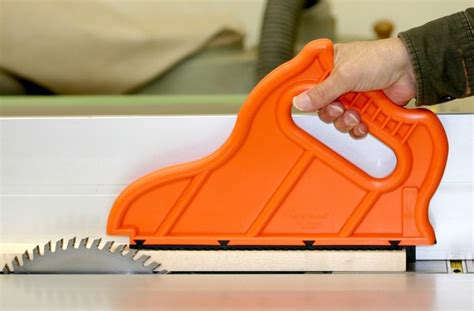
The importance of safety in woodworking cannot be overstated, and one crucial aspect of safe woodworking practices is the use of a table saw push stick. A table saw push stick is a simple yet effective tool that helps woodworkers maintain control over their workpieces while keeping their hands away from the saw blade. In this article, we will delve into the world of table saw push sticks, exploring their benefits, working mechanisms, and steps to create your own push stick template guide.
Woodworking enthusiasts and professionals alike understand the risks associated with table saws. The saw blade, spinning at high speeds, can easily inflict serious injuries if not handled properly. A push stick is an essential accessory that helps mitigate these risks by providing a safe and controlled way to feed workpieces through the saw. By using a push stick, woodworkers can ensure that their hands remain at a safe distance from the saw blade, reducing the likelihood of accidents.
The benefits of using a table saw push stick are numerous. Firstly, it provides an increased level of safety, allowing woodworkers to focus on their work without worrying about the risks associated with the saw. Secondly, a push stick enables woodworkers to maintain better control over their workpieces, resulting in more accurate cuts and a smoother finish. Finally, a push stick can help reduce fatigue and strain, as it allows woodworkers to apply consistent and controlled pressure to the workpiece.
Understanding Table Saw Push Sticks
Benefits of Table Saw Push Sticks
The benefits of using a table saw push stick are clear. By providing a safe and controlled way to feed workpieces through the saw, push sticks help reduce the risk of accidents and injuries. Additionally, push sticks enable woodworkers to maintain better control over their workpieces, resulting in more accurate cuts and a smoother finish.Creating a Table Saw Push Stick Template Guide
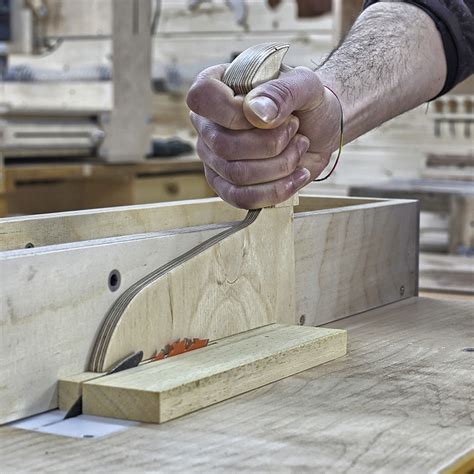
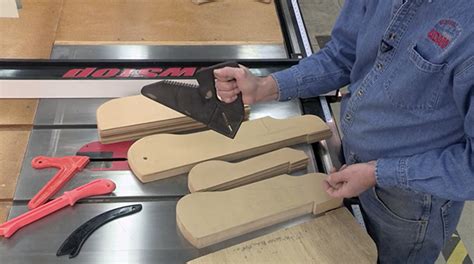
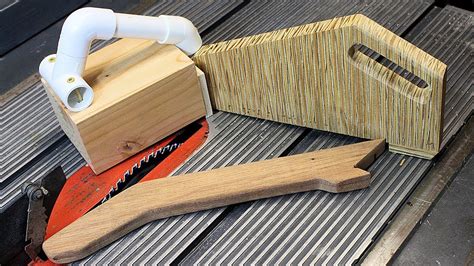
The next step is to cut out the push stick, using a saw or a CNC machine. The push stick should be cut to the desired shape and size, with a curved or angled end that fits comfortably in the hand. Once the push stick has been cut, it can be sanded and finished to provide a smooth surface.
Steps to Create a Table Saw Push Stick Template Guide
Here are the steps to create a table saw push stick template guide: * Design the push stick, taking into account the size and shape of the workpieces that will be cut. * Cut out the push stick, using a saw or a CNC machine. * Sand and finish the push stick to provide a smooth surface. * Attach a rubber or plastic foot to the push stick, providing traction and control. * Test the push stick, ensuring that it provides adequate control and safety.Using a Table Saw Push Stick Template Guide

It is essential to use the push stick in conjunction with the table saw's fence, ensuring that the workpiece is properly aligned and secured. By using a push stick, woodworkers can make precise and accurate cuts, while maintaining a safe distance from the saw blade.
Tips for Using a Table Saw Push Stick Template Guide
Here are some tips for using a table saw push stick template guide: * Always use the push stick in conjunction with the table saw's fence. * Ensure that the push stick is properly aligned with the workpiece. * Use a slow and controlled motion when feeding the workpiece through the saw. * Keep your hands and fingers away from the saw blade at all times. * Regularly inspect the push stick for wear and tear, replacing it as necessary.Table Saw Push Stick Template Guide Materials
Some common materials used to create table saw push sticks include:
- Wood: A popular choice for push sticks, wood is durable and easy to work with.
- Plastic: A versatile material, plastic can be molded to fit specific shapes and sizes.
- Aluminum: A strong and lightweight material, aluminum is ideal for push sticks that require added durability.
- Rubber: A flexible material, rubber is often used for the foot of the push stick, providing traction and control.
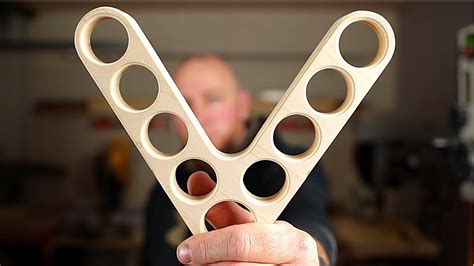
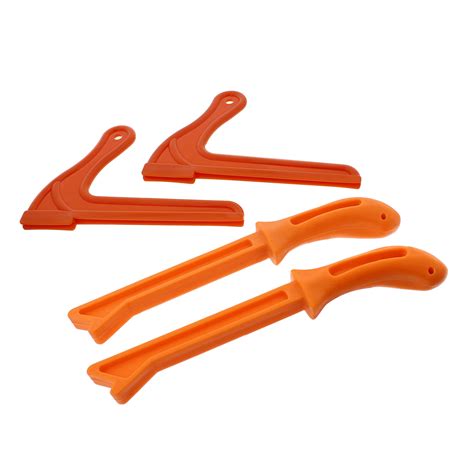
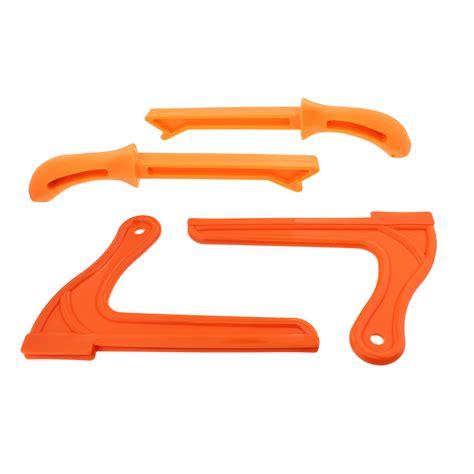
Table Saw Push Stick Template Guide Designs
Here are some common designs for table saw push sticks: * Curved push stick: A curved push stick is ideal for cutting curved or irregular shapes. * Angled push stick: An angled push stick is perfect for cutting angled or beveled cuts. * Straight push stick: A straight push stick is suitable for cutting straight cuts and is often used for rip cuts. * Adjustable push stick: An adjustable push stick can be adjusted to fit different sizes and shapes of workpieces.Table Saw Push Stick Image Gallery


What is a table saw push stick?
+A table saw push stick is a tool used to safely feed workpieces through a table saw, keeping hands and fingers away from the saw blade.
Why is a table saw push stick important?
+A table saw push stick is important because it provides a safe and controlled way to feed workpieces through the saw, reducing the risk of accidents and injuries.
How do I create a table saw push stick template guide?
+To create a table saw push stick template guide, design the push stick, cut it out, sand and finish it, and attach a rubber or plastic foot to provide traction and control.
In conclusion, a table saw push stick template guide is an essential tool for any woodworker, providing a safe and controlled way to feed workpieces through the saw. By understanding the benefits and working mechanisms of a table saw push stick, woodworkers can create their own push stick template guide, ensuring a safe and enjoyable woodworking experience. We invite you to share your thoughts and experiences with table saw push sticks in the comments below, and don't forget to share this article with your fellow woodworkers.