
Intro
Discover 5 simple cat plush patterns for sewing and crafting. Learn easy DIY stuffed animal designs, cute kitty toys, and plushie making techniques with step-by-step guides and tutorials.
Cats have long been a beloved companion for many people around the world. Their cute faces, soft fur, and playful personalities make them a joy to be around. For those who love cats, having a cat plush can be a wonderful way to bring a piece of that joy into their daily lives. Cat plushies can be used as decorations, gifts, or even as a comfort object for children. With the rise of DIY crafts and sewing, making your own cat plush has become a popular hobby. In this article, we will explore five simple cat plush patterns that you can try at home.
These patterns are designed to be easy to follow and require minimal sewing experience. Whether you are a beginner or an experienced sewer, you will find something that suits your skills and interests. From classic cat designs to more modern and quirky interpretations, we have got you covered. So, let's get started and dive into the world of cat plushies.
Introduction to Cat Plush Patterns

Pattern 1: Basic Cat Plush

- 1 piece of fabric for the body
- 2 pieces of fabric for the ears
- 1 piece of fabric for the tail
- Thread
- Stuffing material
- Scissors
- Sewing machine
Step-by-Step Instructions
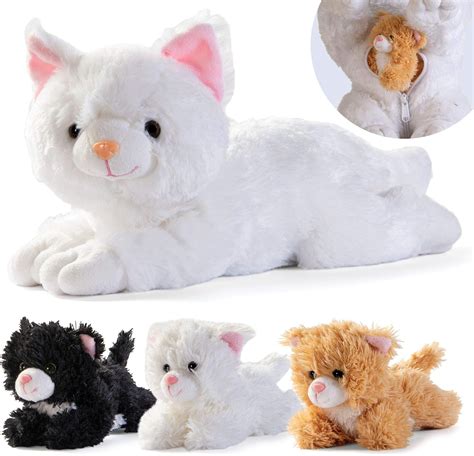
To make the basic cat plush, follow these steps: 1. Cut out the body, ears, and tail from your fabric. 2. Sew the ears to the top of the head. 3. Sew the tail to the back of the body. 4. Stuff the body with filling material. 5. Sew the opening shut. 6. Add details such as eyes, nose, and mouth using embroidery or felt.Pattern 2: Kitten Plush

- 1 piece of fabric for the body
- 2 pieces of fabric for the ears
- 1 piece of fabric for the tail
- Thread
- Stuffing material
- Scissors
- Sewing machine
Step-by-Step Instructions
To make the kitten plush, follow these steps: 1. Cut out the body, ears, and tail from your fabric. 2. Sew the ears to the top of the head, making sure they are larger and more rounded than the basic cat plush. 3. Sew the tail to the back of the body. 4. Stuff the body with filling material. 5. Sew the opening shut. 6. Add details such as eyes, nose, and mouth using embroidery or felt.Pattern 3: Cat Face Plush

- 1 piece of fabric for the face
- Thread
- Stuffing material
- Scissors
- Sewing machine
Step-by-Step Instructions
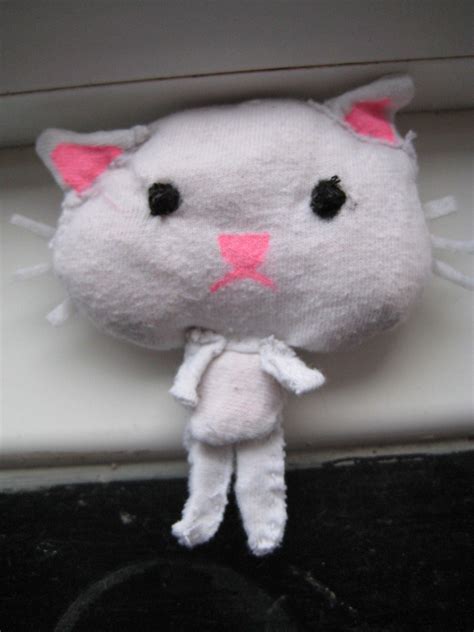
To make the cat face plush, follow these steps: 1. Cut out the face from your fabric. 2. Sew a circle around the edge of the face, leaving a small opening. 3. Stuff the face with filling material. 4. Sew the opening shut. 5. Add details such as eyes, nose, and mouth using embroidery or felt.Pattern 4: Sitting Cat Plush
- 1 piece of fabric for the body
- 2 pieces of fabric for the ears
- 1 piece of fabric for the tail
- Thread
- Stuffing material
- Scissors
- Sewing machine
Step-by-Step Instructions
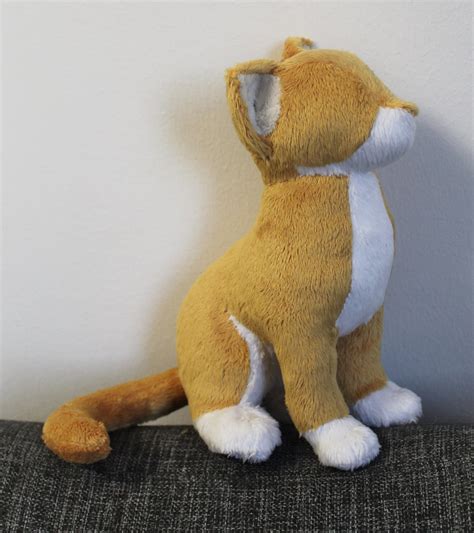
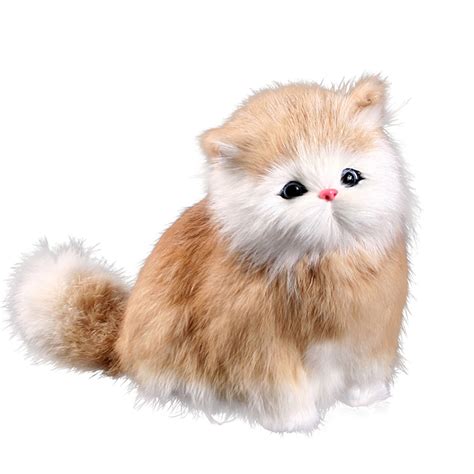
To make the sitting cat plush, follow these steps: 1. Cut out the body, ears, and tail from your fabric. 2. Sew the ears to the top of the head. 3. Sew the tail to the back of the body. 4. Stuff the body with filling material, making sure to add more weight to the bottom to create a stable base. 5. Sew the opening shut. 6. Add details such as eyes, nose, and mouth using embroidery or felt.Pattern 5: Realistic Cat Plush
- 1 piece of fabric for the body
- 2 pieces of fabric for the ears
- 1 piece of fabric for the tail
- Thread
- Stuffing material
- Scissors
- Sewing machine
Step-by-Step Instructions
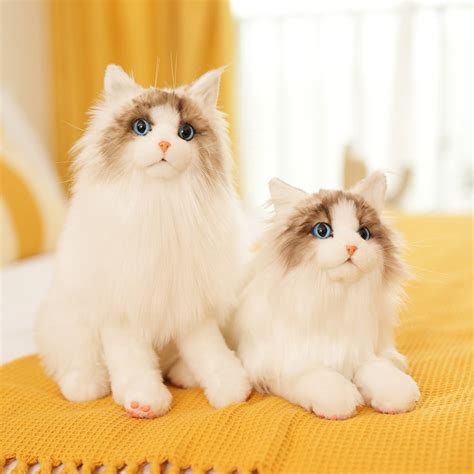
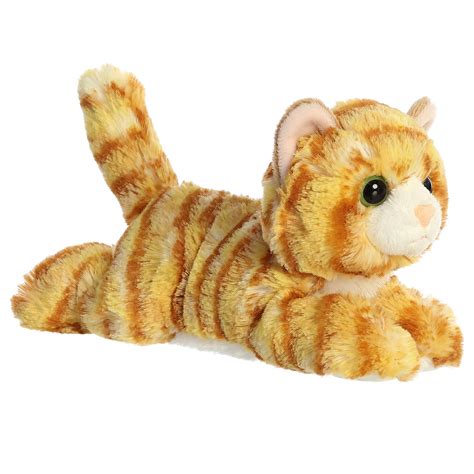
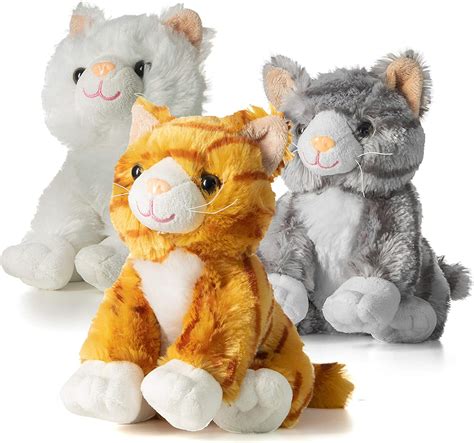
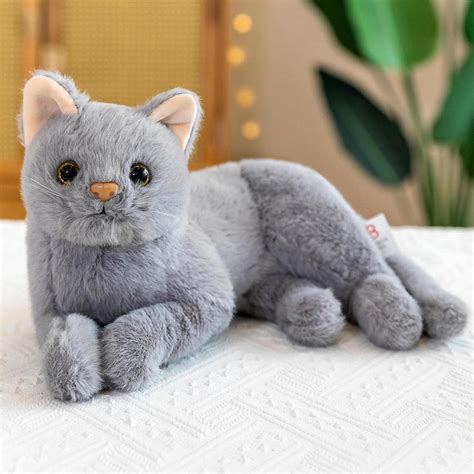
To make the realistic cat plush, follow these steps: 1. Cut out the body, ears, and tail from your fabric. 2. Sew the ears to the top of the head. 3. Sew the tail to the back of the body. 4. Stuff the body with filling material. 5. Sew the opening shut. 6. Add details such as eyes, nose, and mouth using embroidery or felt. 7. Use layering and texturing techniques to create a realistic coat. 8. Add whiskers and claws using wire or yarn.Cat Plush Image Gallery


What materials do I need to make a cat plush?
+To make a cat plush, you will need fabric, thread, stuffing material, scissors, and a sewing machine. You may also want to add details such as eyes, nose, and mouth using embroidery or felt.
How do I stuff a cat plush?
+To stuff a cat plush, you will need to fill the body with filling material, making sure to add enough weight to create a stable base. You can use a variety of materials, such as polyester fiberfill or cotton batting.
Can I make a cat plush without sewing?
+While sewing is the most common method for making a cat plush, it is possible to make one without sewing. You can use a hot glue gun to attach the fabric pieces together, or use a needle and thread to tie the pieces together. However, sewing is generally the most secure and durable method.
How do I add details to a cat plush?
+To add details to a cat plush, you can use embroidery or felt to create eyes, nose, and mouth. You can also use wire or yarn to create whiskers and claws. Additionally, you can use layering and texturing techniques to create a realistic coat.
Can I sell my cat plush creations?
+Yes, you can sell your cat plush creations. However, make sure to research any copyright or trademark laws that may apply to your designs. You can sell your creations online or at local craft fairs and markets.
We hope this article has inspired you to try your hand at making your own cat plush. With these five simple patterns, you can create a range of adorable and cuddly cat plushies that are perfect for gifts, decorations, or comfort objects. Whether you are a beginner or an experienced sewer, we encourage you to experiment with different fabrics, materials, and techniques to create unique and personalized cat plushies. Don't be afraid to share your creations with friends and family, or to sell them online or at local craft fairs. Happy sewing! If you have any questions or comments, please feel free to leave them below. We would love to hear from you and see your cat plush creations.