
Intro
Boost productivity with 5 tips for creating a Ppt timeline, including project scheduling, milestone tracking, and deadline management for effective presentation timelines.
Creating an effective PowerPoint timeline is crucial for presenting projects, plans, or historical events in a clear and concise manner. A well-structured timeline can help audience members understand complex sequences of events, see how different elements are interconnected, and grasp the overall scope of a project. Here are 5 tips to help you create a compelling and informative PowerPoint timeline.
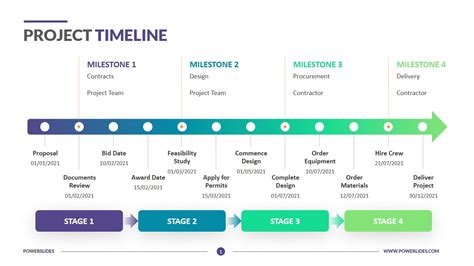
The first step in creating a successful timeline is to define its purpose and scope. This involves identifying the key events, milestones, or tasks that you want to include and determining the start and end dates of your timeline. By focusing on the essential elements, you can avoid clutter and ensure that your timeline remains easy to follow. Consider what you want to communicate with your timeline and what information is most relevant to your audience.
Understanding Your Audience

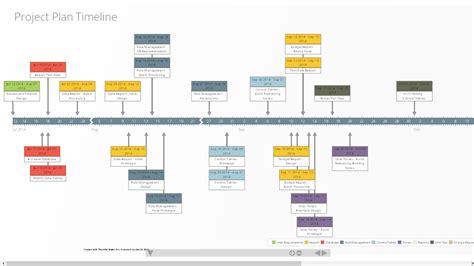
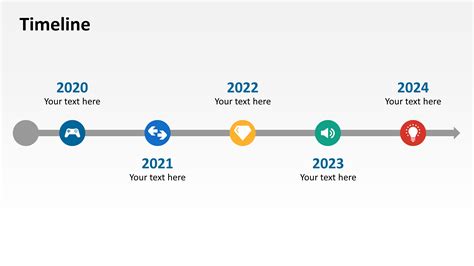
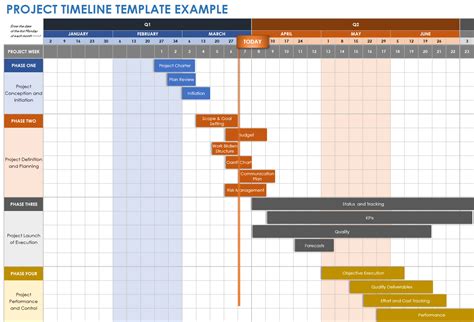
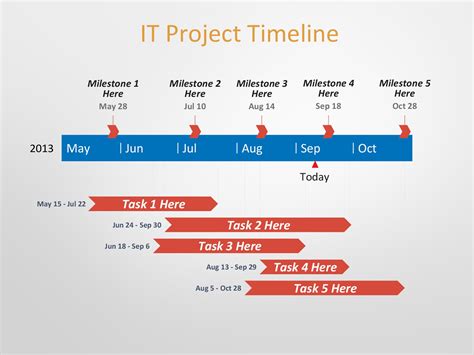
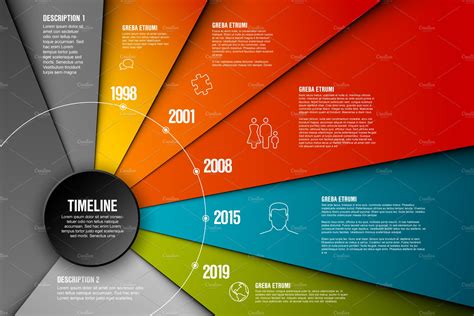
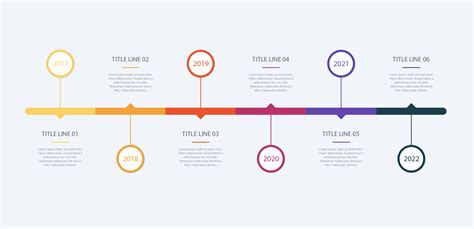
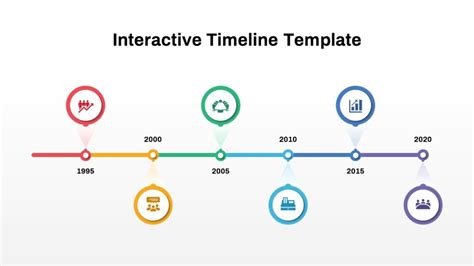
Choosing the Right Template
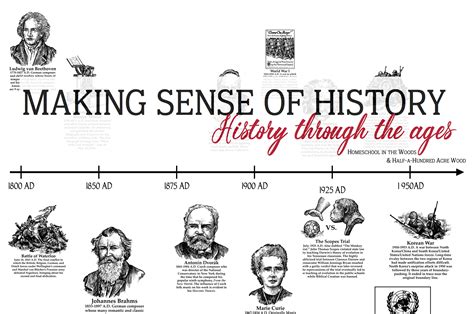
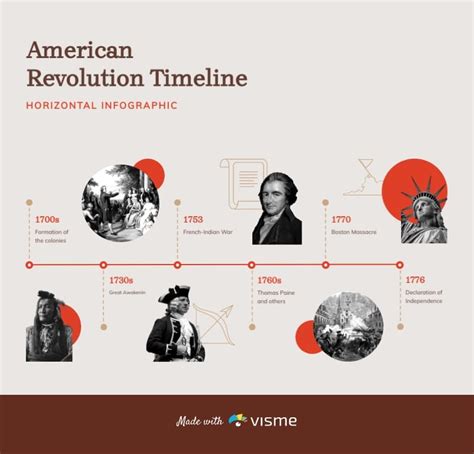
Adding Visual Elements
Keeping It Simple and Interactive
Finalizing Your Timeline
In addition to these tips, here are some key points to consider when creating your timeline:
- Define Your Purpose: Clearly determine what you want to achieve with your timeline.
- Know Your Audience: Tailor your content to meet the needs and interests of your viewers.
- Use Templates Wisely: Select a template that fits your data and story.
- Enhance with Visuals: Use images, icons, and colors to make your timeline engaging.
- Simplify and Interact: Focus on key information and consider interactivity.
By following these guidelines and tips, you can create a PowerPoint timeline that effectively communicates your message, engages your audience, and helps achieve your goals.
Timeline Creation Image Gallery

What is the primary purpose of a timeline in a presentation?
+The primary purpose of a timeline is to display a sequence of events or tasks in a clear and concise manner, helping the audience understand the progression and relationship between different elements.
How can I make my timeline more engaging?
+You can make your timeline more engaging by incorporating visual elements such as images, icons, and colors, and by using interactive features like hyperlinks and animations.
What are some common mistakes to avoid when creating a timeline?
+Common mistakes include cluttering the timeline with too much information, failing to tailor the content to the audience, and not using visual elements effectively to enhance understanding and engagement.
We hope these tips and guidelines have been helpful in creating your PowerPoint timeline. Remember, the key to a successful timeline is clarity, simplicity, and engagement. By focusing on your audience's needs and using the right tools and techniques, you can create a timeline that effectively communicates your message and achieves your goals. Share your experiences and tips for creating timelines in the comments below, and don't hesitate to reach out if you have any further questions or need additional guidance.