
Intro
Create stunning presentations with 5 PowerPoint floor plan tips, including space planning, layout design, and visualization techniques, to enhance your architectural and interior design projects with accurate floorplan templates and tools.
Creating a floor plan is an essential step in various fields such as architecture, interior design, and real estate. With the help of PowerPoint, users can create professional-looking floor plans without needing extensive design experience. Floor plans are crucial for visualizing and communicating spatial relationships, layouts, and designs of buildings, rooms, and other enclosed spaces. They serve as a blueprint for construction, renovation, and decoration projects, helping stakeholders understand the project's scope and requirements.
Effective floor plans can make a significant difference in the success of a project. They facilitate better communication among team members, clients, and contractors, ensuring that everyone is on the same page regarding the project's objectives and specifications. Moreover, well-designed floor plans can help identify potential issues and challenges early on, allowing for timely interventions and minimizing costly rework.
The importance of floor plans extends beyond the construction phase. They are also valuable tools for property marketing, as they provide potential buyers or renters with a clear understanding of a property's layout and features. In the context of facility management, floor plans are used to plan and optimize space utilization, manage maintenance activities, and ensure compliance with safety and accessibility standards.
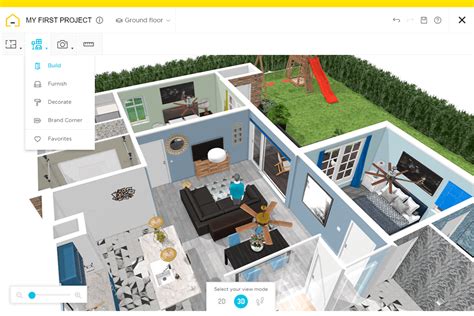
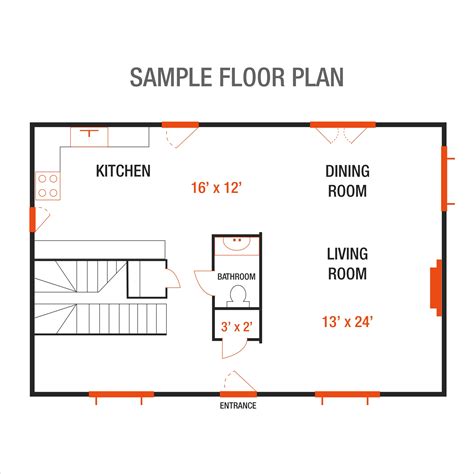
Understanding Floor Plan Basics
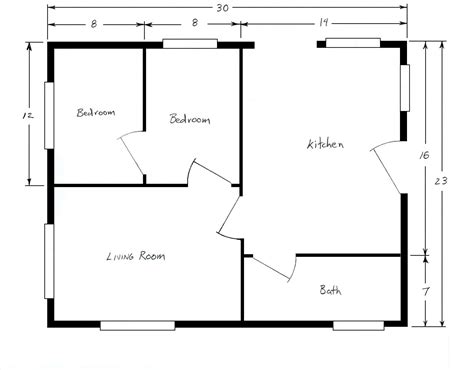
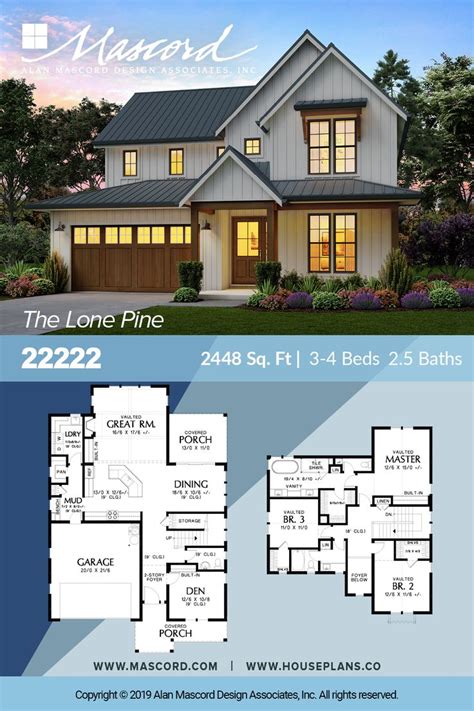
Tip 1: Choose the Right Template
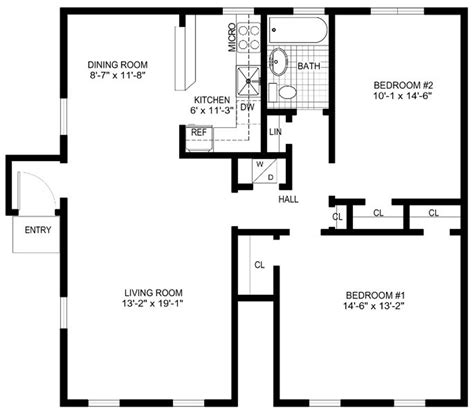
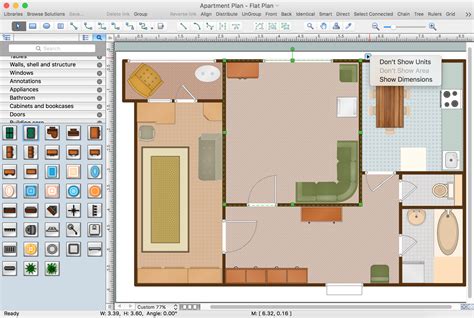
Customizing Templates
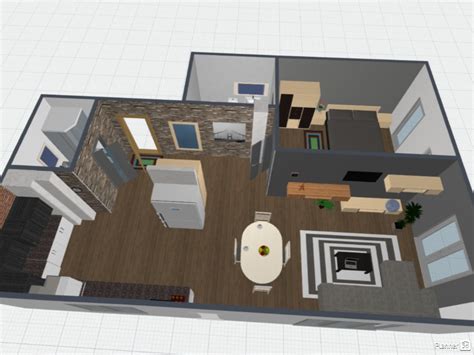
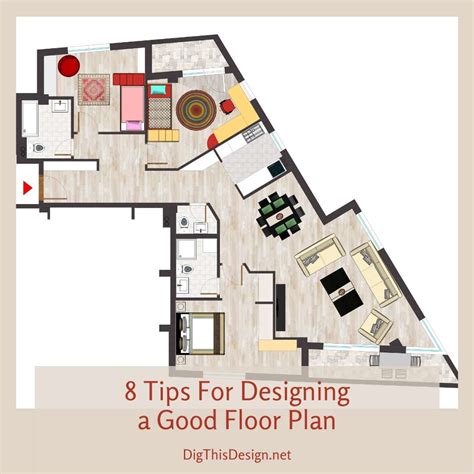
Customizing a chosen template is key to creating a floor plan that accurately represents the intended space. This involves adding, removing, or modifying elements such as walls, doors, windows, and furniture. PowerPoint's drag-and-drop functionality and resizing tools make it easy to manipulate objects and achieve the desired layout. Additionally, users can import custom shapes or symbols to enhance the plan's detail and accuracy.Tip 2: Use Shapes and Symbols Effectively
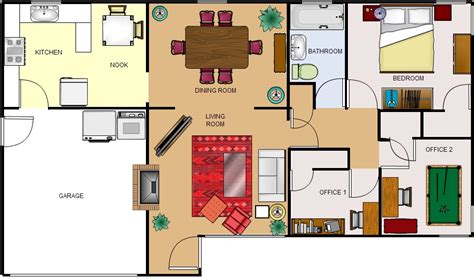
Best Practices for Shape Usage
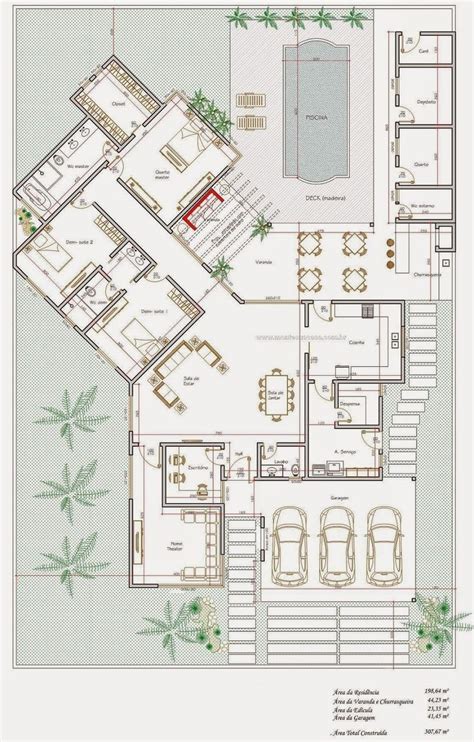
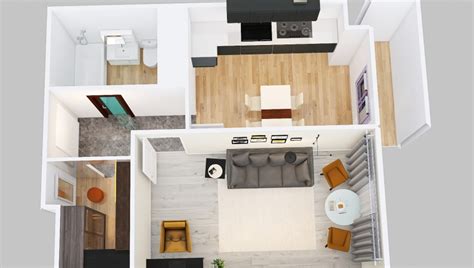
Best practices for using shapes in floor plans include maintaining consistency in the use of symbols, using colors to differentiate between various elements (e.g., walls, doors, windows), and keeping the design simple and uncluttered. Consistency is key to avoiding confusion and ensuring that all stakeholders can easily comprehend the plan. Moreover, using layers can help organize complex designs, allowing users to focus on specific aspects of the plan without the clutter of unnecessary details.Tip 3: Pay Attention to Scaling
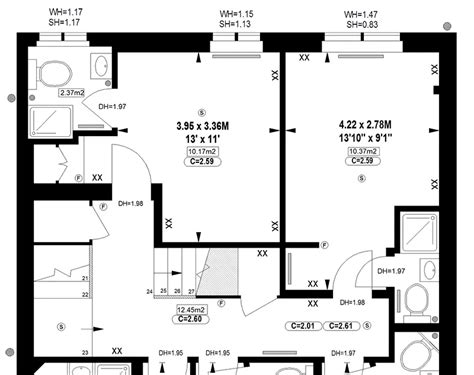
Scaling Considerations
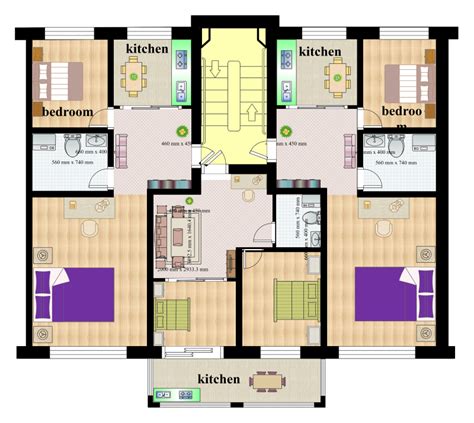
When considering scaling, users should think about the level of detail required for the project. A larger scale might be necessary for intricate designs or when working with small spaces, while a smaller scale could be more appropriate for larger areas or when focusing on the overall layout rather than specific details. Additionally, the scale should be clearly indicated on the plan to ensure that all viewers understand the proportions.Tip 4: Add Dimensions and Annotations
Best Practices for Annotations
Best practices for adding dimensions and annotations include using a consistent formatting style throughout the plan, ensuring that text is large enough to be easily read, and avoiding clutter by placing annotations strategically. It's also beneficial to use layers for annotations, allowing users to turn them on or off as needed, which can help in presenting the plan to different audiences or focusing on specific aspects of the design.Tip 5: Collaborate and Review

Collaboration Tools
PowerPoint offers several collaboration tools that facilitate teamwork and feedback. Users can share documents, track changes, and communicate through comments. These features enhance the design process, enabling real-time collaboration and minimizing misunderstandings. Additionally, PowerPoint's compatibility with other Microsoft Office tools means that floor plans can be easily integrated into reports, presentations, and other documents, further streamlining the project workflow.PowerPoint Floor Plan Image Gallery
What is the importance of scaling in floor plans?
+Scaling is crucial in floor plans as it ensures that the design is proportionate to the actual space, preventing misunderstandings and errors in construction or renovation projects.
How can I collaborate with others on a floor plan in PowerPoint?
+PowerPoint allows multiple users to collaborate on a single document. You can share the document, track changes, and communicate through comments, facilitating real-time collaboration and feedback.
What are the best practices for adding dimensions and annotations to a floor plan?
+Best practices include using a consistent formatting style, ensuring text is large enough to be read easily, and avoiding clutter by placing annotations strategically. Using layers for annotations can also be beneficial.
In conclusion, creating effective floor plans in PowerPoint involves understanding the basics of floor plan design, choosing the right template, using shapes and symbols effectively, paying attention to scaling, adding dimensions and annotations, and collaborating with others. By following these tips and best practices, users can produce high-quality floor plans that meet their project needs, whether for construction, renovation, decoration, or property marketing. The ability to create and share professional-looking floor plans can significantly enhance communication, collaboration, and the overall success of projects. We invite you to share your experiences with creating floor plans in PowerPoint and explore how these tips can be applied to your specific projects.