
Intro
Create a visual project roadmap with a Google Drawing Timeline Template, featuring customizable charts, Gantt views, and collaborative tools for efficient planning and tracking.
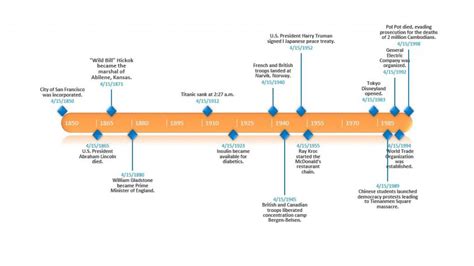
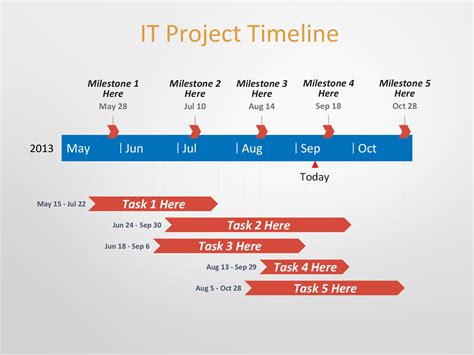
Creating a timeline is an essential skill for anyone looking to organize events, projects, or historical periods in a clear and visual manner. A Google Drawing timeline template can be a valuable tool for achieving this, given its accessibility, ease of use, and collaborative features. In this article, we'll delve into the importance of timelines, the benefits of using Google Drawing for creating them, and provide a step-by-step guide on how to make a timeline template using Google Drawing.
The importance of timelines cannot be overstated. They help in understanding the sequence of events, planning projects, and even in educational settings to teach history or the progression of ideas over time. With the advent of digital tools, creating timelines has become easier and more accessible than ever. Google Drawing, part of the Google Workspace suite, offers a free, web-based platform that allows users to create, edit, and share drawings online. Its simplicity and real-time collaboration features make it an ideal choice for creating timeline templates.
Before diving into the tutorial, it's worth noting that Google Drawing is not just about creating static images. It's a powerful tool that can be used for a variety of purposes, from simple diagrams to complex infographics. Its integration with other Google apps, such as Google Drive and Google Docs, enhances its utility, allowing for seamless sharing and embedding of drawings into documents and presentations.
Introduction to Google Drawing
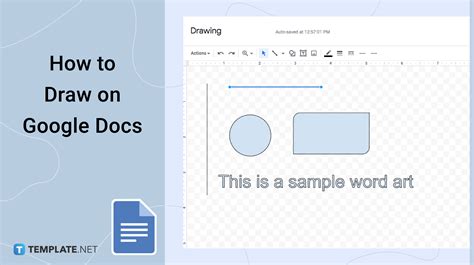
Google Drawing is accessible directly from your Google account, requiring no additional software downloads. This makes it universally accessible, provided you have a Google account and an internet connection. For those new to Google Drawing, navigating its interface is straightforward. The toolbar at the top provides all the necessary tools to start creating, from basic shapes and lines to text and images.
Benefits of Using Google Drawing for Timelines

The benefits of using Google Drawing for creating timelines are numerous. Firstly, its collaborative feature allows multiple users to work on the same timeline simultaneously, which is invaluable for team projects or when seeking input from colleagues. Secondly, the real-time commenting feature enables effective communication among collaborators, ensuring that everyone is on the same page. Lastly, Google Drawing's revision history allows you to see changes made to your timeline and even revert back to previous versions if needed.
Key Features for Timeline Creation
- Collaboration: Invite others to edit your timeline in real-time.
- Revision History: Keep track of all changes made to your timeline.
- Sharing: Easily share your timeline with others via a link.
- Integration: Embed your timeline into Google Docs, Slides, or Sheets.
Step-by-Step Guide to Creating a Timeline Template
Creating a timeline template in Google Drawing involves several steps, from setting up your drawing space to adding events and customizing the appearance of your timeline.
- Access Google Drawing: Go to Google Drive, click on "New," and then select "More" followed by "Google Drawings."
- Set Up Your Page: Adjust the size of your drawing to accommodate your timeline. You can do this by clicking on "File" > "Page setup" and adjusting the dimensions.
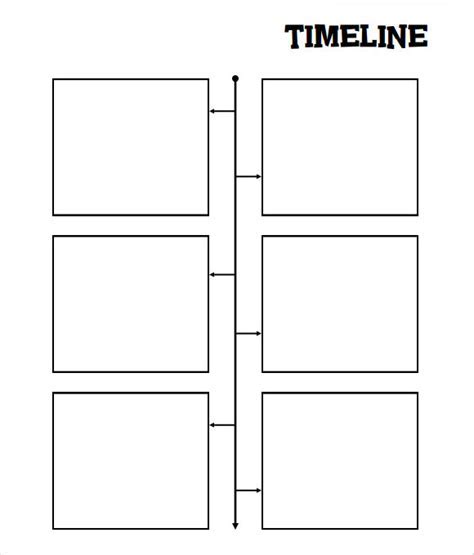
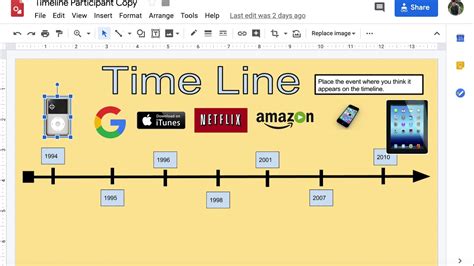
- Draw Your Timeline: Use the line tool to draw a straight line across your page. This will serve as the base of your timeline.
- Add Events: Use the text tool to add events above or below the line. You can also use shapes to mark important dates or events.
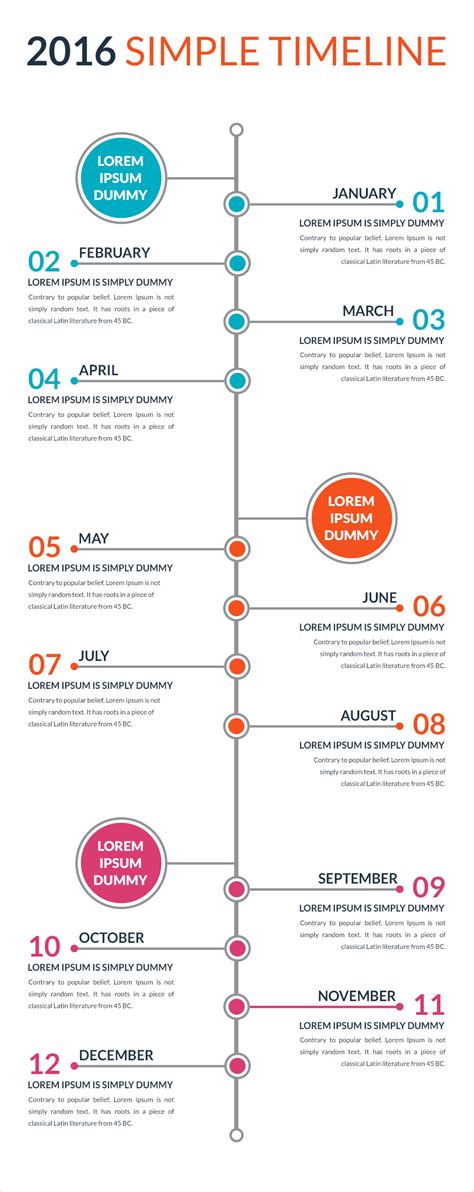
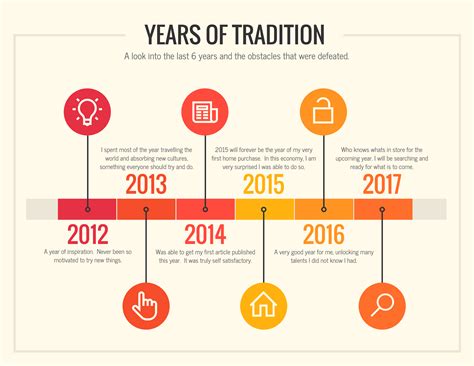
- Customize: Use different colors, fonts, and shapes to make your timeline more engaging and easy to understand.
- Collaborate: Share your timeline with others by clicking on "File" > "Share" and entering the emails of your collaborators.
Tips for Effective Timeline Creation
- Keep it Simple: Avoid clutter by only including essential information.
- Use Colors: Different colors can be used to categorize events or highlight important dates.
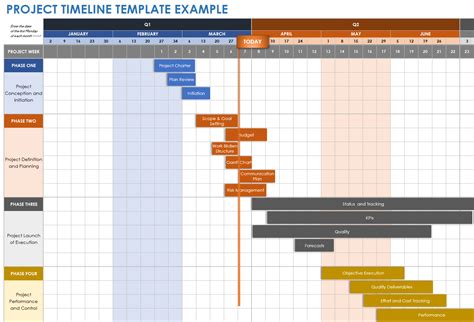
- Scale: Ensure your timeline is to scale, especially if you're dealing with a long period.
Advanced Features and Customization

Beyond the basic steps, Google Drawing offers several advanced features that can enhance your timeline. For instance, you can add images to illustrate events, use tables to organize information, or even link text to external sources for further reading. Customization is key to making your timeline engaging and informative.
Embedding Timelines
Once your timeline is complete, you can embed it into Google Docs or Slides. This is particularly useful for presentations, reports, or when you need to include your timeline in a larger document. To embed, simply select your timeline, right-click, and choose "Get link" to share, or use the "Publish to web" feature for embedding.
Conclusion and Next Steps

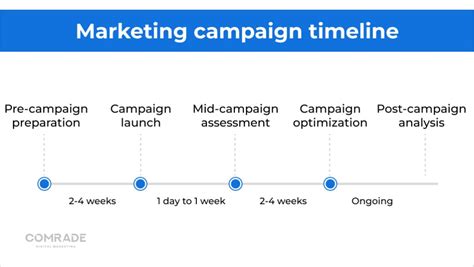
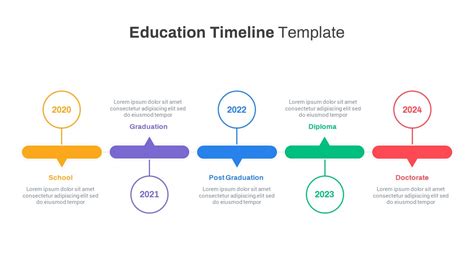
In conclusion, creating a timeline template in Google Drawing is a straightforward process that can greatly benefit from the platform's collaborative and customization features. Whether you're a student working on a history project, a professional planning a marketing campaign, or simply someone looking to organize events, Google Drawing provides a versatile tool to meet your needs.
To further enhance your timeline creation skills, consider exploring more advanced features within Google Drawing, such as layering objects, using scripts for automation, or integrating with other Google apps for a more comprehensive workflow.
Google Drawing Timeline Template Gallery

How do I share my timeline with others?
+To share your timeline, click on "File" > "Share" and enter the emails of the people you want to share it with. You can choose their permission level, whether it's to view, comment, or edit.
Can I use Google Drawing for other types of diagrams and charts?
+Yes, Google Drawing is versatile and can be used to create a variety of diagrams, charts, and illustrations beyond timelines. It's great for flowcharts, mind maps, and even simple graphics for presentations or documents.
How do I embed my timeline into a Google Doc or Slide?
+To embed your timeline, select it, right-click, and choose "Get link" to share, or use the "Publish to web" feature. You can then paste the link into your Google Doc or Slide, or use the "Insert" > "Drawing" feature to directly insert your timeline.
We hope this guide has been helpful in getting you started with creating your own timeline templates in Google Drawing. Whether for personal, educational, or professional use, Google Drawing's ease of use and powerful features make it an ideal choice. Feel free to share your experiences, tips, or questions about using Google Drawing for timeline creation in the comments below.