
Intro
Learn brick mail box installation with our guide, covering mailbox design, brick laying, and mortar mixing for a secure and attractive curbside fixture, including postal regulations and DIY tips.
Installing a brick mail box is a great way to add a touch of elegance and sophistication to your home's exterior. Not only does it provide a secure and durable place for your mail to be delivered, but it also adds a decorative element to your front yard. In this article, we will guide you through the process of installing a brick mail box, from preparation to completion.
The importance of a well-installed brick mail box cannot be overstated. A brick mail box is not only a functional element, but it also adds to the overall aesthetic of your home. A poorly installed brick mail box can be an eyesore and detract from the beauty of your home. On the other hand, a well-installed brick mail box can enhance the curb appeal of your home and make it stand out from the rest.
Before we dive into the installation process, it's essential to consider the benefits of a brick mail box. Unlike traditional mail boxes, brick mail boxes are durable and can withstand the elements. They are also low maintenance and can be easily cleaned and repaired. Additionally, brick mail boxes can be customized to match the style and design of your home, making them a great addition to any exterior decor.
Introduction to Brick Mail Box Installation
Installing a brick mail box requires some planning and preparation. The first step is to choose the right location for your brick mail box. It's essential to consider the distance from the road and the accessibility of the location. You'll also need to check with your local post office to ensure that your brick mail box meets their regulations and guidelines.
Materials Needed for Brick Mail Box Installation
To install a brick mail box, you'll need the following materials:
- Bricks
- Mortar
- Sand
- Gravel
- Concrete
- Mail box
- Mail box post
- Post anchor
- Trowel
- Level
- Hammer
- Safety glasses
It's essential to have all the necessary materials before starting the installation process. This will ensure that you can complete the project efficiently and effectively.
Step-by-Step Guide to Brick Mail Box Installation
Installing a brick mail box is a multi-step process that requires patience and attention to detail. Here's a step-by-step guide to help you through the process:
- Prepare the site: Clear the area where you'll be installing the brick mail box. Remove any debris, grass, or weeds.
- Dig the hole: Dig a hole for the post anchor, about 12 inches deep and 18 inches wide.
- Lay the foundation: Lay a layer of gravel at the bottom of the hole, followed by a layer of sand.
- Set the post anchor: Set the post anchor in the hole, making sure it's level and secure.
- Lay the bricks: Begin laying the bricks, starting from the bottom and working your way up. Use mortar to secure the bricks in place.
- Install the mail box: Once the bricks are in place, install the mail box and mail box post.
- Finish the top: Finish the top of the brick mail box with a layer of mortar and a decorative cap.
Tips and Tricks for Brick Mail Box Installation

Here are some tips and tricks to keep in mind when installing a brick mail box:
- Use a level to ensure the bricks are straight and level.
- Use a trowel to apply the mortar, making sure to fill the gaps between the bricks.
- Use a hammer to tap the bricks into place, making sure they're secure.
- Use safety glasses to protect your eyes from debris and mortar.
- Consider adding a decorative element, such as a plaque or a planter, to enhance the appearance of your brick mail box.
Common Mistakes to Avoid in Brick Mail Box Installation

Here are some common mistakes to avoid when installing a brick mail box:
- Not checking with the local post office to ensure the brick mail box meets their regulations and guidelines.
- Not preparing the site properly, leading to uneven or unstable ground.
- Not using enough mortar, leading to gaps between the bricks.
- Not using a level, leading to uneven or crooked bricks.
- Not considering the weather, leading to damage or deterioration of the brick mail box.
Conclusion and Final Thoughts

In conclusion, installing a brick mail box is a great way to add a touch of elegance and sophistication to your home's exterior. By following the steps outlined in this guide and avoiding common mistakes, you can create a beautiful and functional brick mail box that will last for years to come.
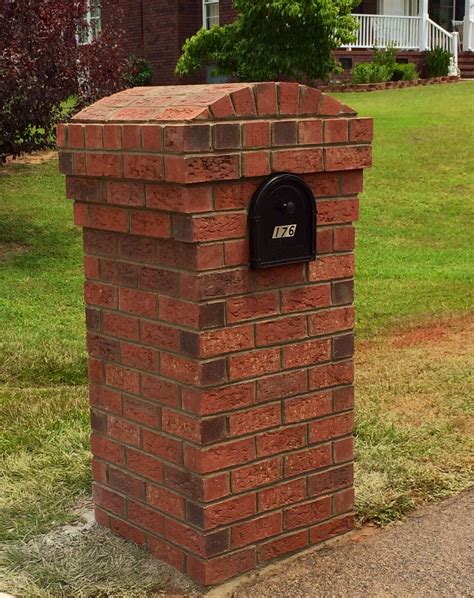
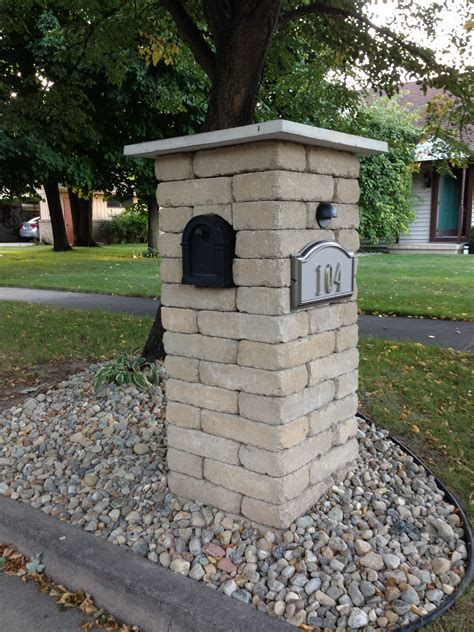
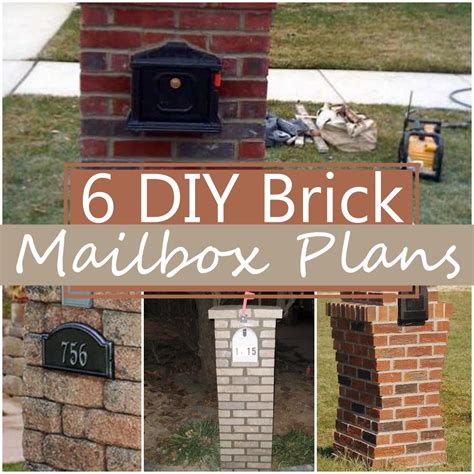
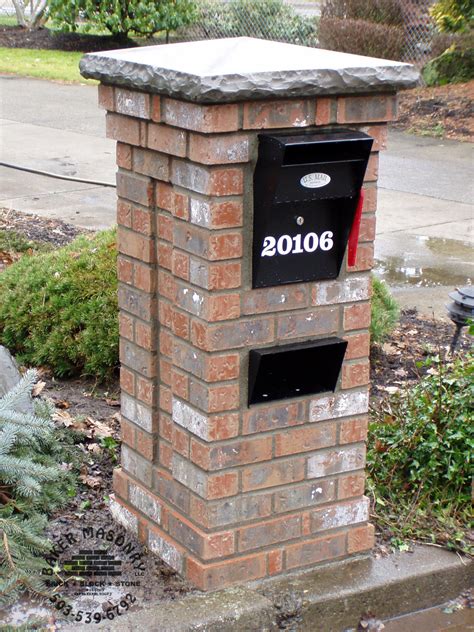
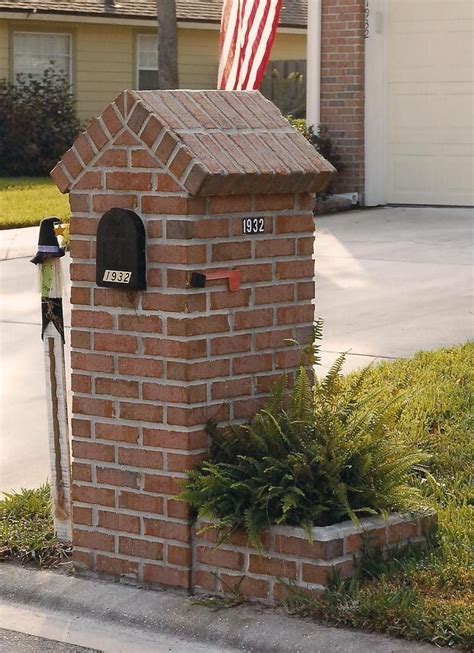
Gallery of Brick Mail Box Designs
Brick Mail Box Image Gallery


What are the benefits of a brick mail box?
+A brick mail box is durable, low maintenance, and can withstand the elements. It also adds a decorative element to your front yard and can be customized to match the style and design of your home.
How do I choose the right location for my brick mail box?
+Choose a location that is easily accessible and visible from the road. You should also consider the distance from the road and check with your local post office to ensure that your brick mail box meets their regulations and guidelines.
What materials do I need to install a brick mail box?
+You'll need bricks, mortar, sand, gravel, concrete, a mail box, a mail box post, a post anchor, a trowel, a level, a hammer, and safety glasses.
We hope this article has provided you with the information and guidance you need to install a beautiful and functional brick mail box. If you have any further questions or comments, please don't hesitate to reach out. Share this article with your friends and family who may be interested in installing a brick mail box, and don't forget to check out our other articles for more home improvement tips and guides.