
Intro
Create a professional binder with a 2 Inch Binder Spine Template in Google Docs, featuring customizable spine labels, printable inserts, and organizational tools for efficient document management and storage solutions.
The world of organization and document management has become increasingly digital, but there's still a need for physical storage and presentation of documents. This is where binders come in, providing a tidy and accessible way to keep papers in order. For those looking to create their own binder spines, whether for personal, educational, or professional use, a 2-inch binder spine template in Google Docs can be incredibly useful. In this article, we'll delve into the importance of binder organization, the benefits of using templates, and how to create and utilize a 2-inch binder spine template in Google Docs.
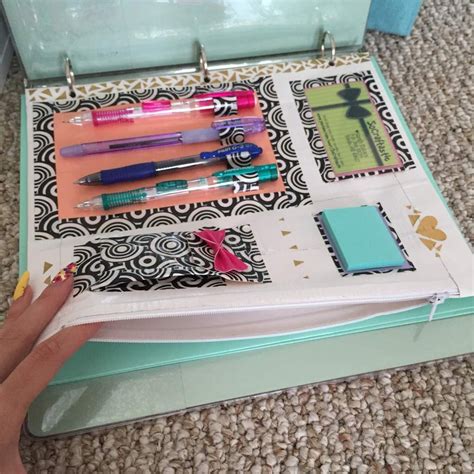
Organizing documents in binders not only helps in keeping a workspace clutter-free but also makes it easier to find specific documents when needed. A well-organized binder system can boost productivity and reduce stress, especially in environments where documentation is plentiful, such as schools, offices, and libraries. The use of a 2-inch binder spine template can add a professional touch to these binders, making them not only functional but also visually appealing.
Creating a binder spine template from scratch can be time-consuming, especially for those who are not familiar with design principles or do not have the time to measure and format their templates correctly. This is where Google Docs comes into play, offering a free, accessible platform where users can create, edit, and share their documents, including templates for binder spines. Google Docs' collaborative features also make it easy for teams or classes to work together on creating standardized binder templates.
Benefits of Using a 2-Inch Binder Spine Template
Using a 2-inch binder spine template offers several benefits. Firstly, it ensures consistency across all binders, which can enhance the professional appearance of presentations, reports, and other documents. Secondly, these templates can be customized to include essential information such as the title of the document collection, the owner's name, and the date, making it easier to identify the contents of each binder at a glance. Lastly, having a template ready to use can save time and effort, as it eliminates the need to design a spine label from scratch each time a new binder is set up.
Customization Options for Binder Spine Templates
One of the advantages of creating a binder spine template in Google Docs is the ease of customization. Users can choose from a variety of fonts, colors, and layouts to match their personal or organizational branding. Additionally, Google Docs allows for the insertion of images and logos, enabling users to add a more personalized or professional touch to their binder spines. For educational purposes, teachers can customize templates to include grading periods, subject names, or student information, while businesses can include their company logo, department names, or project titles.
Steps to Create a 2-Inch Binder Spine Template in Google Docs

Creating a 2-inch binder spine template in Google Docs is straightforward. Here are the basic steps:
- Open Google Docs and start a new document.
- Set the page layout to landscape to accommodate the long, thin shape of a binder spine.
- Adjust the margins and page size to fit the dimensions of a standard 2-inch binder spine.
- Use the drawing tool to create a text box that fits within these dimensions.
- Customize the text box with your desired title, name, and other relevant information.
- Use the font and alignment tools to ensure your text is clear and centered.
- Save your document as a template for future use.
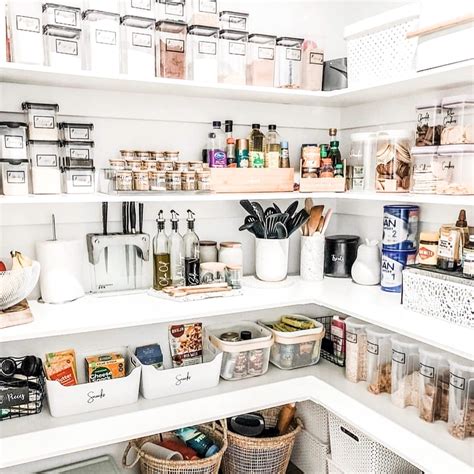
Tips for Effective Binder Organization
Effective binder organization involves more than just labeling the spine. Here are some tips to maximize the use of your binders:
- Use dividers to separate different sections within the binder.
- Implement a color-coding system for different types of documents or projects.
- Keep frequently used documents towards the front of the binder for easy access.
- Regularly clean out unnecessary documents to prevent clutter.
- Consider digitizing documents for long-term storage and accessibility.
Conclusion and Next Steps
In conclusion, a 2-inch binder spine template in Google Docs can be a valuable tool for anyone looking to enhance their document organization system. By providing a consistent, customizable, and professional way to label binders, these templates contribute to a more organized and productive work or study environment. Whether you're a student, professional, or simply an individual looking to get your documents in order, exploring the capabilities of Google Docs for creating and customizing binder spine templates is a step in the right direction.
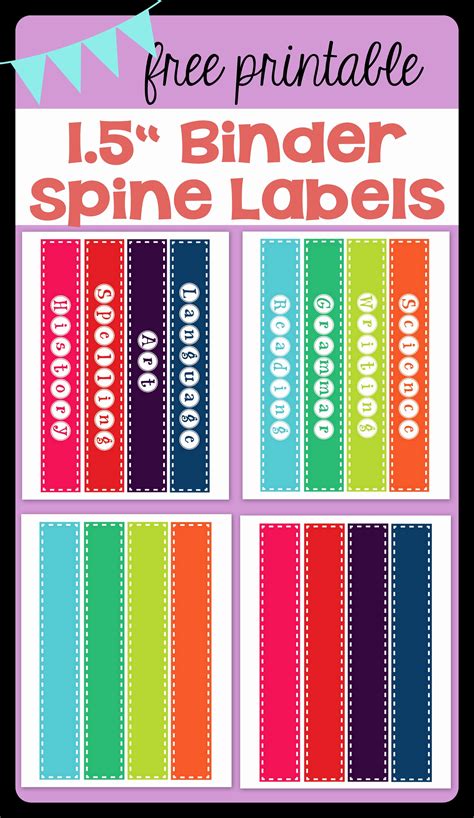
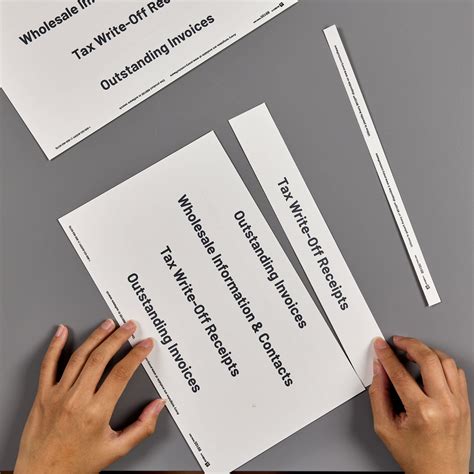
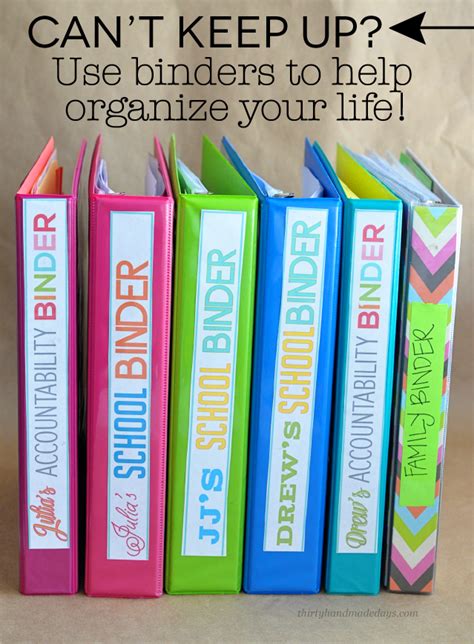
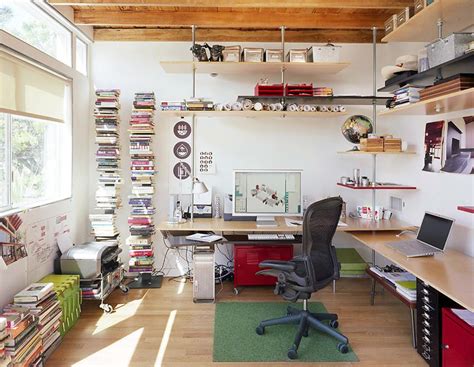
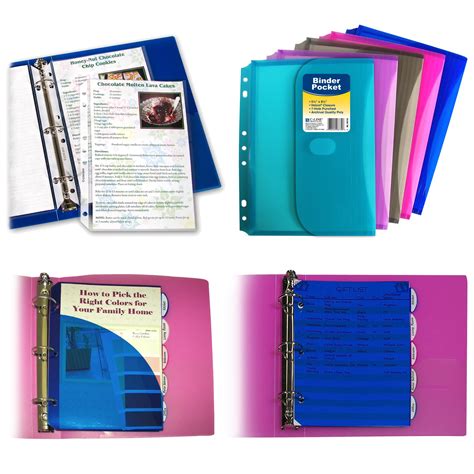
Gallery of Binder Spine Templates


What is the standard size for a binder spine template?
+The standard size can vary, but common sizes include 1 inch, 2 inches, and 3 inches, depending on the binder size and personal preference.
How do I customize a binder spine template in Google Docs?
+You can customize a binder spine template by using the drawing tool to create a text box, adjusting fonts, colors, and layouts, and inserting images or logos as needed.
What are the benefits of using a binder spine template?
+The benefits include enhanced professionalism, ease of identification, customization options, and time savings, as it eliminates the need to create a label from scratch each time.
We hope this comprehensive guide to creating and utilizing a 2-inch binder spine template in Google Docs has been informative and helpful. Whether you're organizing your personal documents, managing a team's projects, or preparing educational materials, the right tools and strategies can make all the difference. Feel free to share your experiences, tips, or questions about binder organization and template creation in the comments below. By sharing knowledge and best practices, we can all work towards creating more organized, efficient, and productive environments.